Resources Index
-
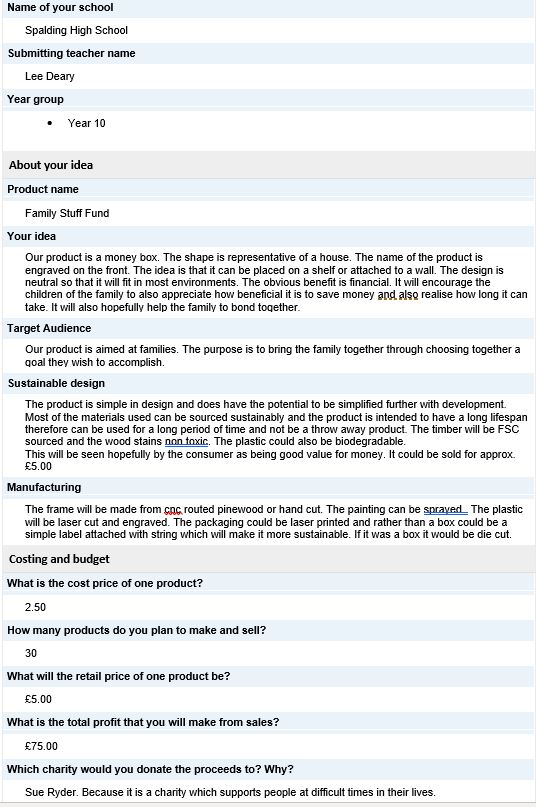
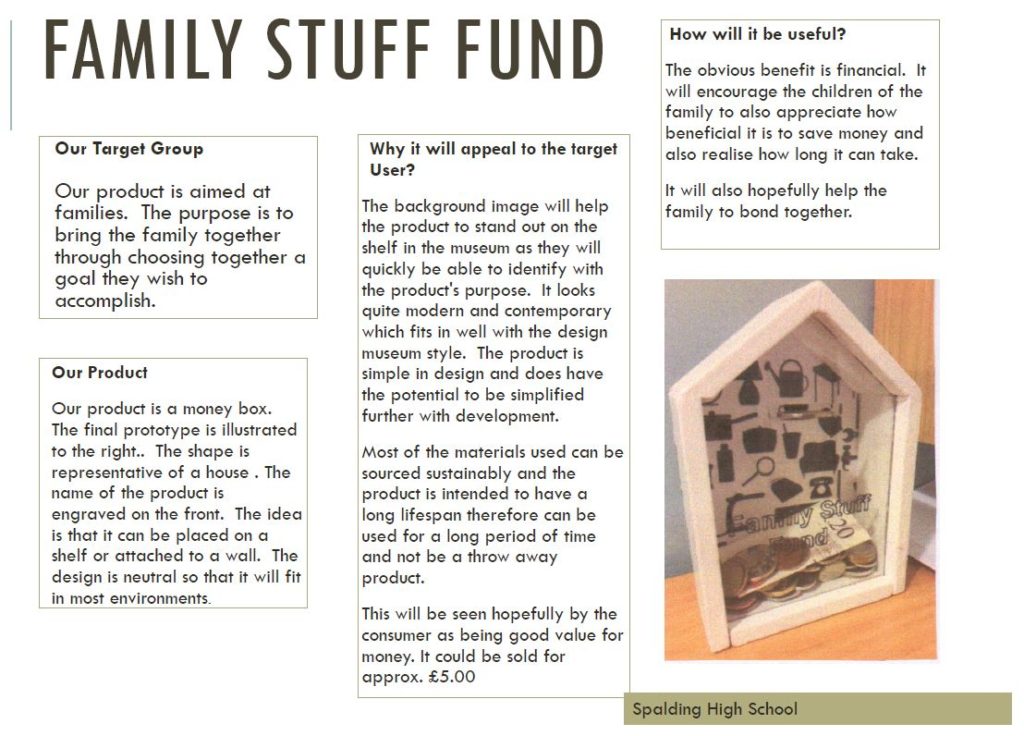
Example Submission: 2018 Family Stuff Fund
As the deadline for Design Ventura approaches, we wanted to look back at the submission that won ‘commendation for most market ready product’ back in Design Ventura 2018.
The judges loved Spalding School’s Family Stuff Fund. The panel liked that the idea improved every day life for one of the Design Museum Shop’s target users – families. This was well demonstrated thorough development, prototyping and research.
Below is their submission form and A3 sheets. We’d like to highlight some of the strengths and some areas for improvement from their submission, things to look out for when submitting for Design Ventura 2019.
Strengths:
- Clarity – the layout is clear and easy to understand. The sheets clearly communicate what the product is and show the design process. Also, each sheet has the name of the school at the bottom.
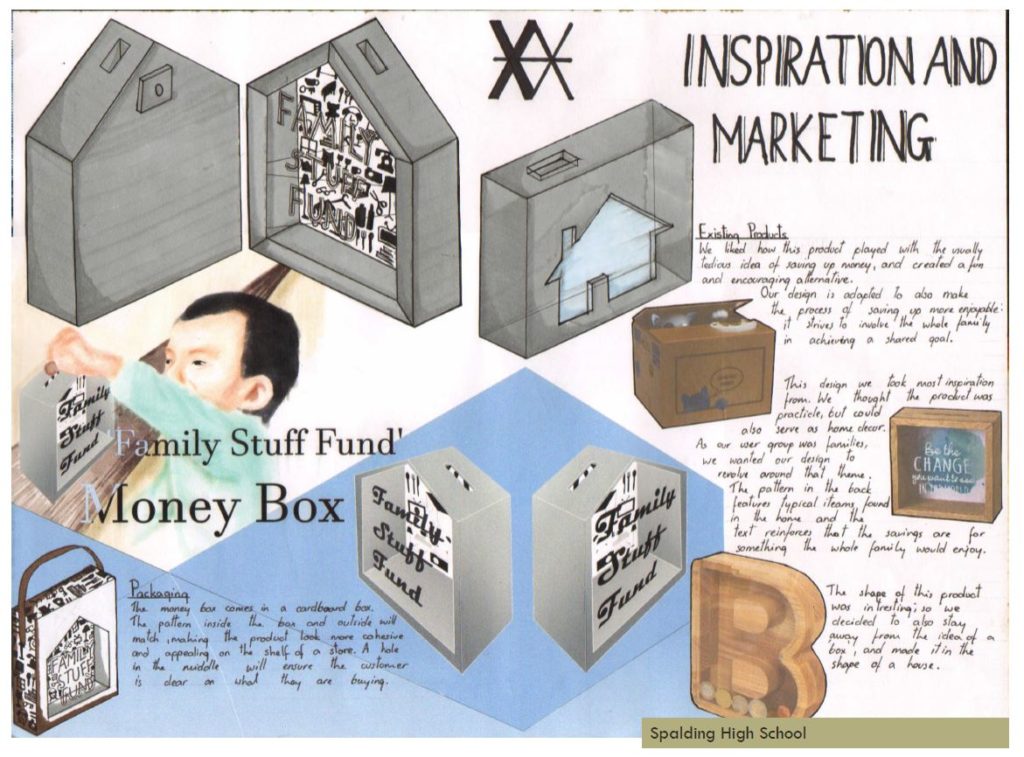
- Design Development – the sheets show the design process. They include initial sketches of the idea, research into similar existing products, photos of prototypes and ideas for packaging design.
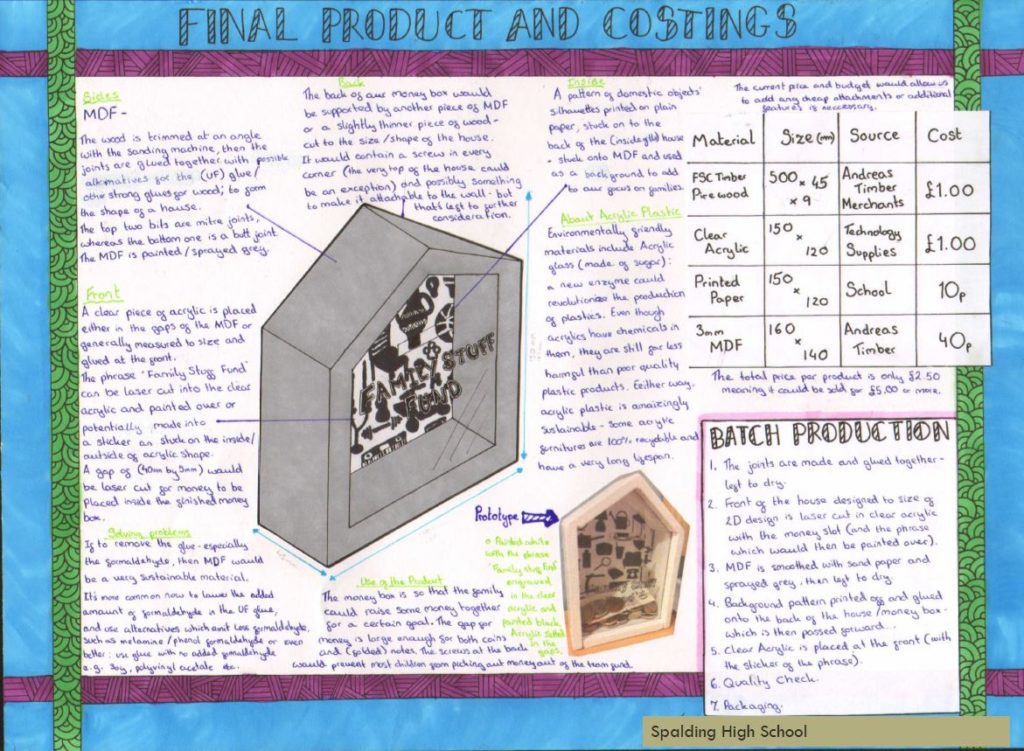
- Budgeting – they have looked at costings and suppliers.
Areas for improvement:
- Further research – while they have shown good research of other similar products, some further research of the Design Museum Shop specifically could have been useful to show.
- User testing and feedback – including feedback on their design by their target audience would have strengthened this entry.
- Sustainability – more information about how they plan to minimise the negative impact of their product on the environment would have strengthened this entry.
The Spalding High School team made it into the Design Ventura 2018 top ten shortlist with this submission. They pitched their ideas to our expert judges at the Pitching Event in December and were awarded ‘commendation for most market ready product’ at the Celebration Event in February.
We can’t wait to see all the wonderful submissions for Design Ventura 2019!
-
Example Submission: 2017 Second Place Entry – Fairmead School
As the deadline for Design Ventura 2018 approaches (Wednesday 14 November, 5pm), we wanted to look back at the submission that won second place in last year’s competition.
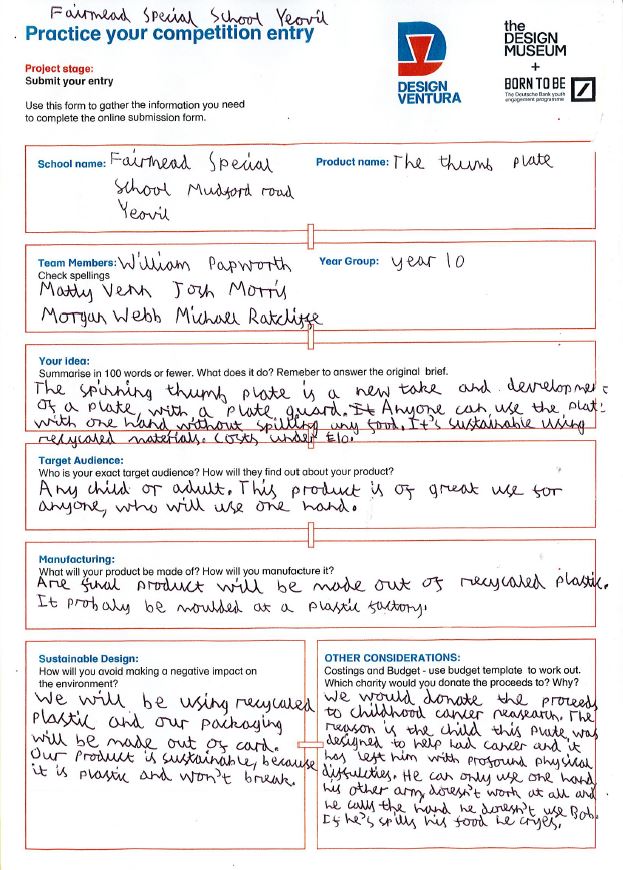
The judges loved Fairmead School’s Spinning Thumb Plate. The panel liked that the idea met a specific need, demonstrated thorough development, prototyping and research.
Below is their submission form and A3 sheets. We’d like to highlight some of the strengths and some areas for improvement from their submission, things to look out for when submitting for Design Ventura 2018.
Entry Form:
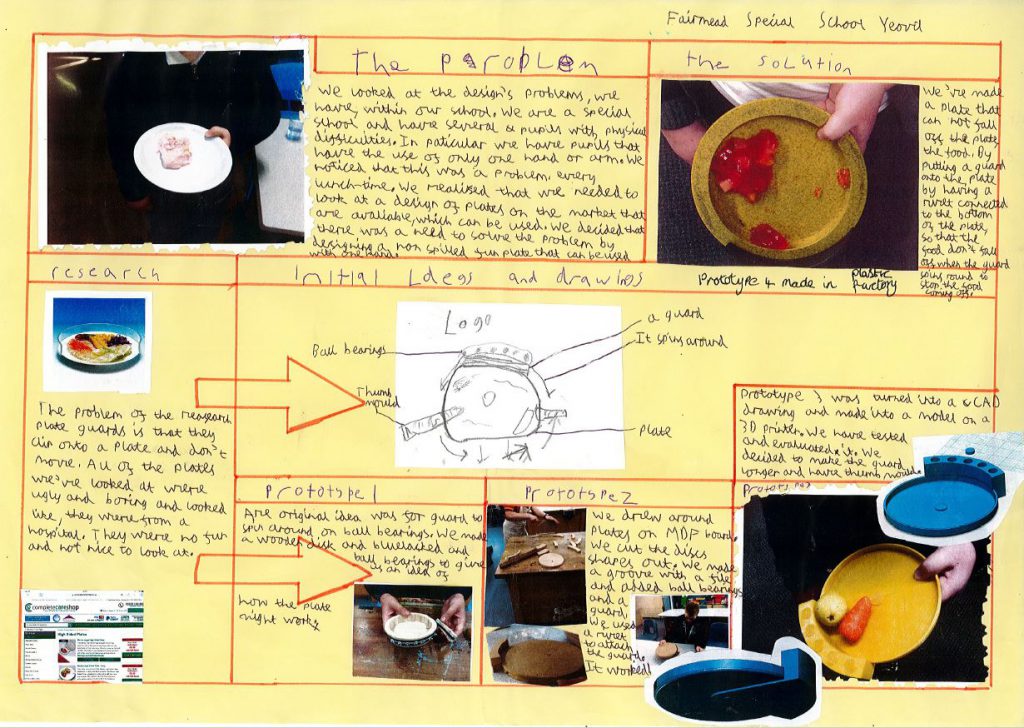
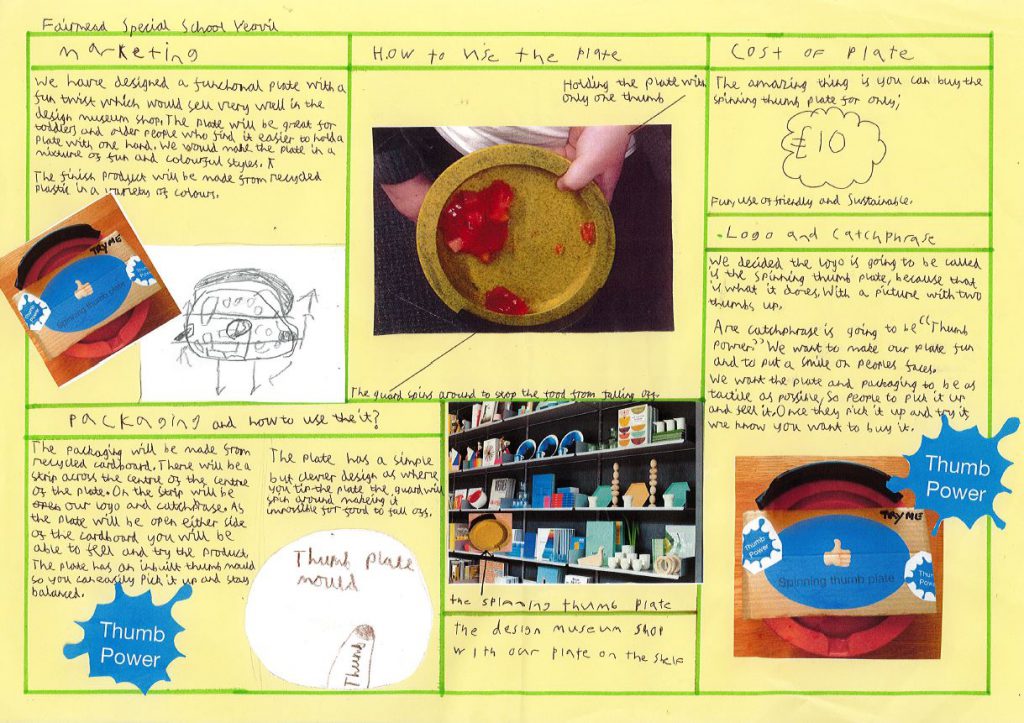
A3 Sheets:
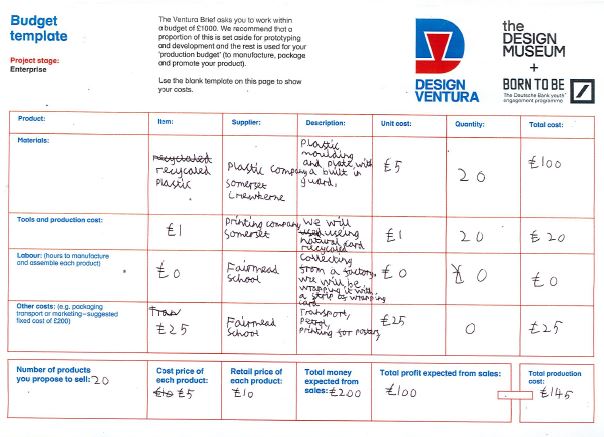
Budget:
Strengths:- Clarity – the layout is clear and easy to understand. The sheets clearly communicate what the product is and show the full design process. Also, each sheet has the name of the school at the top.
- Design Development – the sheets show the design process from beginning to end. They include initial sketches of the idea and photos of different prototypes. They show the product in use and the planned packaging design.
- Budgeting – they have filled out a sample budget sheet, looking at costings and suppliers. (While the budget sheet is not a requirement of submission, clear costings should be included in your A3 sheets if not included in a separate budget sheet.)
Areas for improvement:
- Only 2 sheets – we do ask schools to submit 3 sheets and an optional, additional budget sheet.
- Further research – while they have shown good research of other similar products, some further research of the Design Museum Shop specifically could have been useful to show.
- User testing and feedback – including feedback on their design by their target audience would have strengthened this entry.
We can’t wait to see all the wonderful submissions for Design Ventura 2018!
-
How to submit your entry: step by step guide
Here is your step by step guide on how to submit your entry. If you need further advice, please refer back to our finishing up resources or contact us via email: ventura@designmuseum.org
For a complete entry we need to receive:
- complete online form for which this post is a step by step guide
- 3 x A3 design sheets saved as pdf. We recommend that you add your school name to the top of each A3 sheet
- optional budget template sheet saved as pdf. You can find a template Budget sheet template here.
- completed teacher evaluation form
- completed student evaluation form for all participating students (not just the winning team)
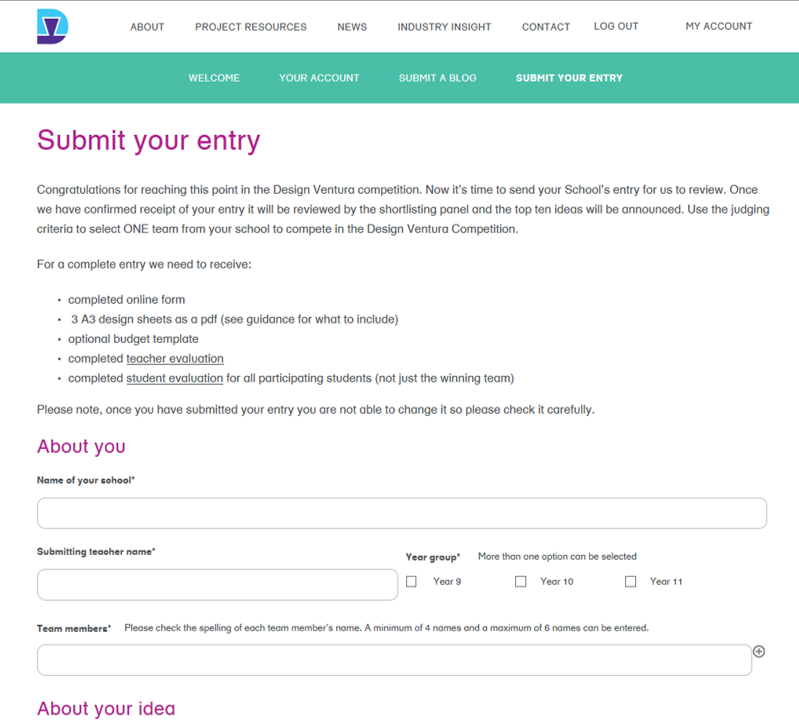
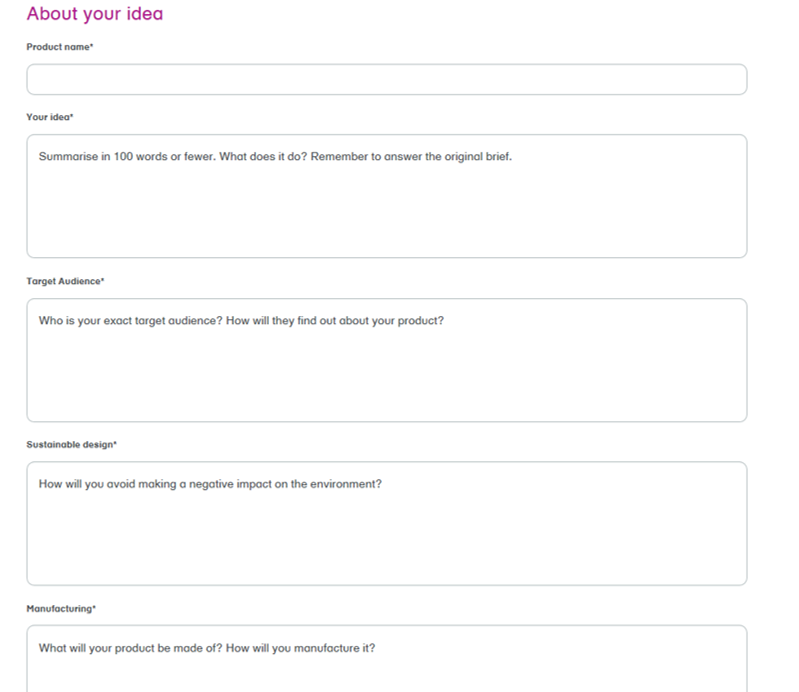
How to complete your online entry form:
- Log in to the Design Ventura website https://ventura.designmuseum.org/ If you forgot your password, you can reset it here.
- Click on “Submit your entry”.
- Work with the team to complete the online competition form. You have the option to save your entry as a draft or submit it.
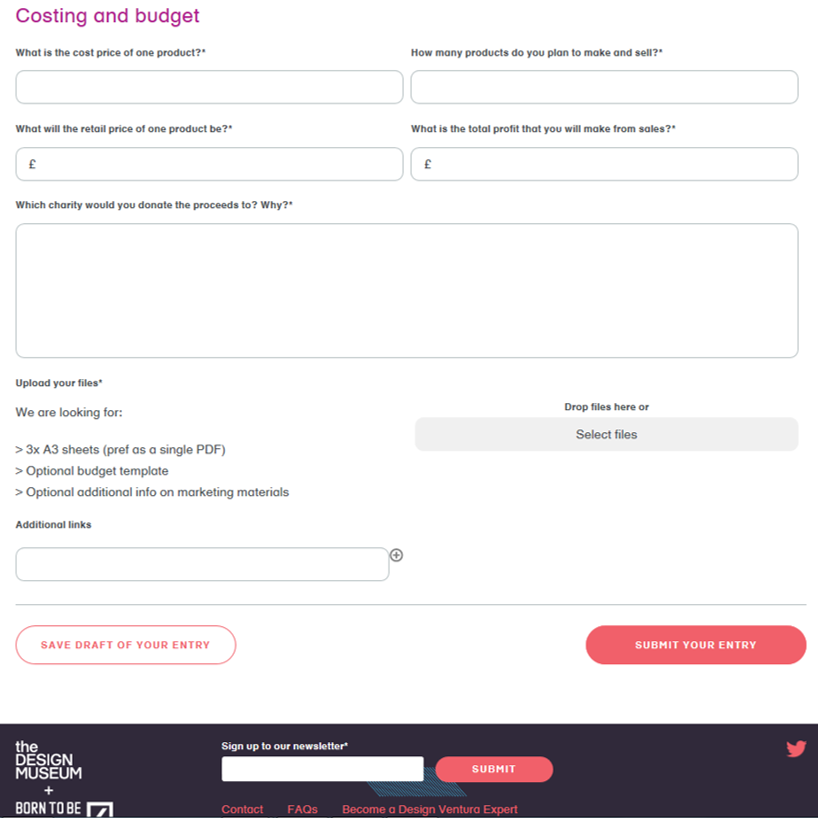
- At the bottom of the competition form, you’ll need to upload your documents, preferably as one single pdf (see more about it on What to attach section)
- Once you are happy with your form, click “Submit your entry” at the bottom right.
What to attach:
- 3x A3 Design Sheets (make sure you add your school nae at the top of each sheet):
- Research and initial ideas
- Idea develpment
- Final design
- These can be hand drawn and scanned, or created digitally.
- Ideal file formats: PDF or jpeg.
- Max file size: 3MB.
- Please include your school name in each file name eg: Ventura Academy Design Sheets.pdf
Please note: once you have submitted your entry you are not able to change it so please check it carefully.
You might find our practise your Entry form useful in preparation of your final submission.
Good luck!
-
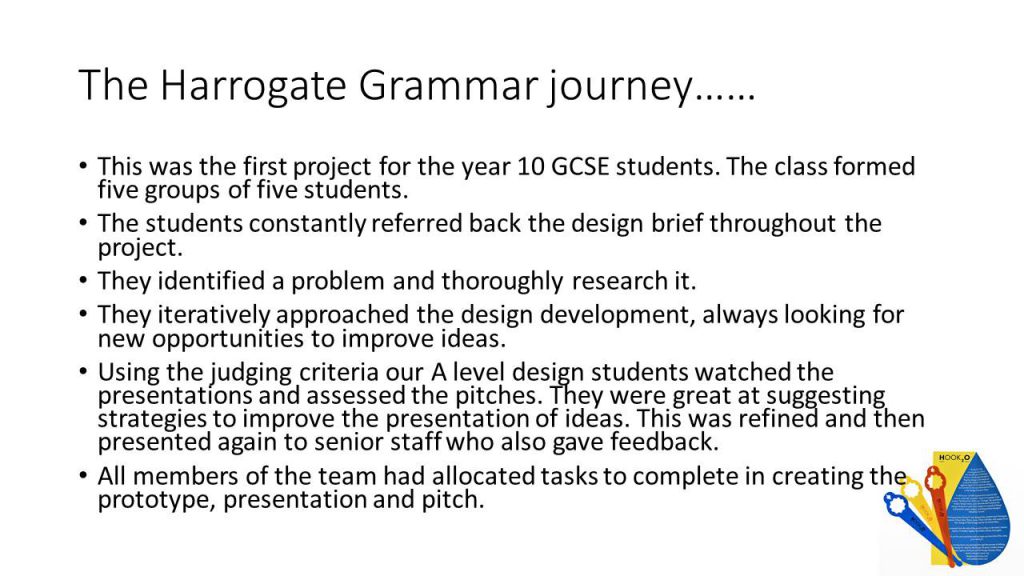
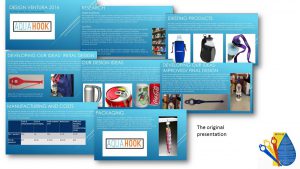
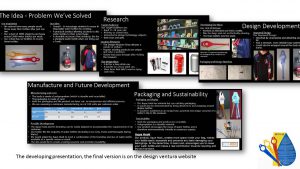
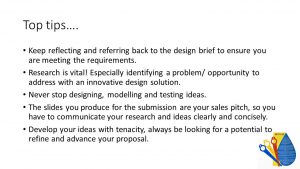
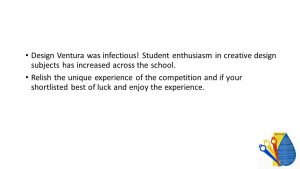
The Harrogate Grammar School journey…
During our Finishing and Presenting ideas webinars, the participants had a chance to know in detail the journey of last year’s winner from the perspective of their leading school teacher, Dave Allen. We thought that Dave’s presentation was very comprehensive, explained what we are looking for and showed in detail the journey that the Harrogate Grammar team went through. We have made Dave’s presentation available below for your reference whilst doing your Design Ventura project (PS – make sure you check his tips at the very end!).
If you couldn’t attend any of our webinars, you can now consult our webinars here.
-
Top #5 tips for your submission
As we are getting closer to the submission day – 14 November at 5pm – we thought that you could use some last minute tips. For a detailed handout on how to submit your entry step by step, please click here.
- One submission per school. Remember, your school can submit only one entry so choose wisely! You can still feature other ideas on our website by submitting a blog post, or tweeting about it using the hashtag #designventura.
- Short and sweet. The shortlisting panel will be going through a lot of entries so make sure that your form is easy to understand and straight to the point.
- Be ready for submission. The final submission form is very important, please refer back to the judging criteria. When you log in to submit your entry, have your files saved on your computer ready for uploading. We recommend that you add your school name to the top of each A3 sheet and submit your attachment in pdf format.
- Evaluation form. Please make sure that both teachers and students fill in their evaluation form.
- Let’s do it! Enter your school’s idea even if you don’t think you have a ‘winner’. Our judges see the potential in all ideas. Remember: all schools that submitted an idea will receive certificates to mark your student’s participation.
We cannot wait to see all your ideas! Good luck everyone!
-
Online Teacher CPD session video available now!
If you missed the teacher CPD in August and September, you can watch the recording of the online session.
Design Ventura 2017 online teacher CPD from Design Museum on Vimeo.
-
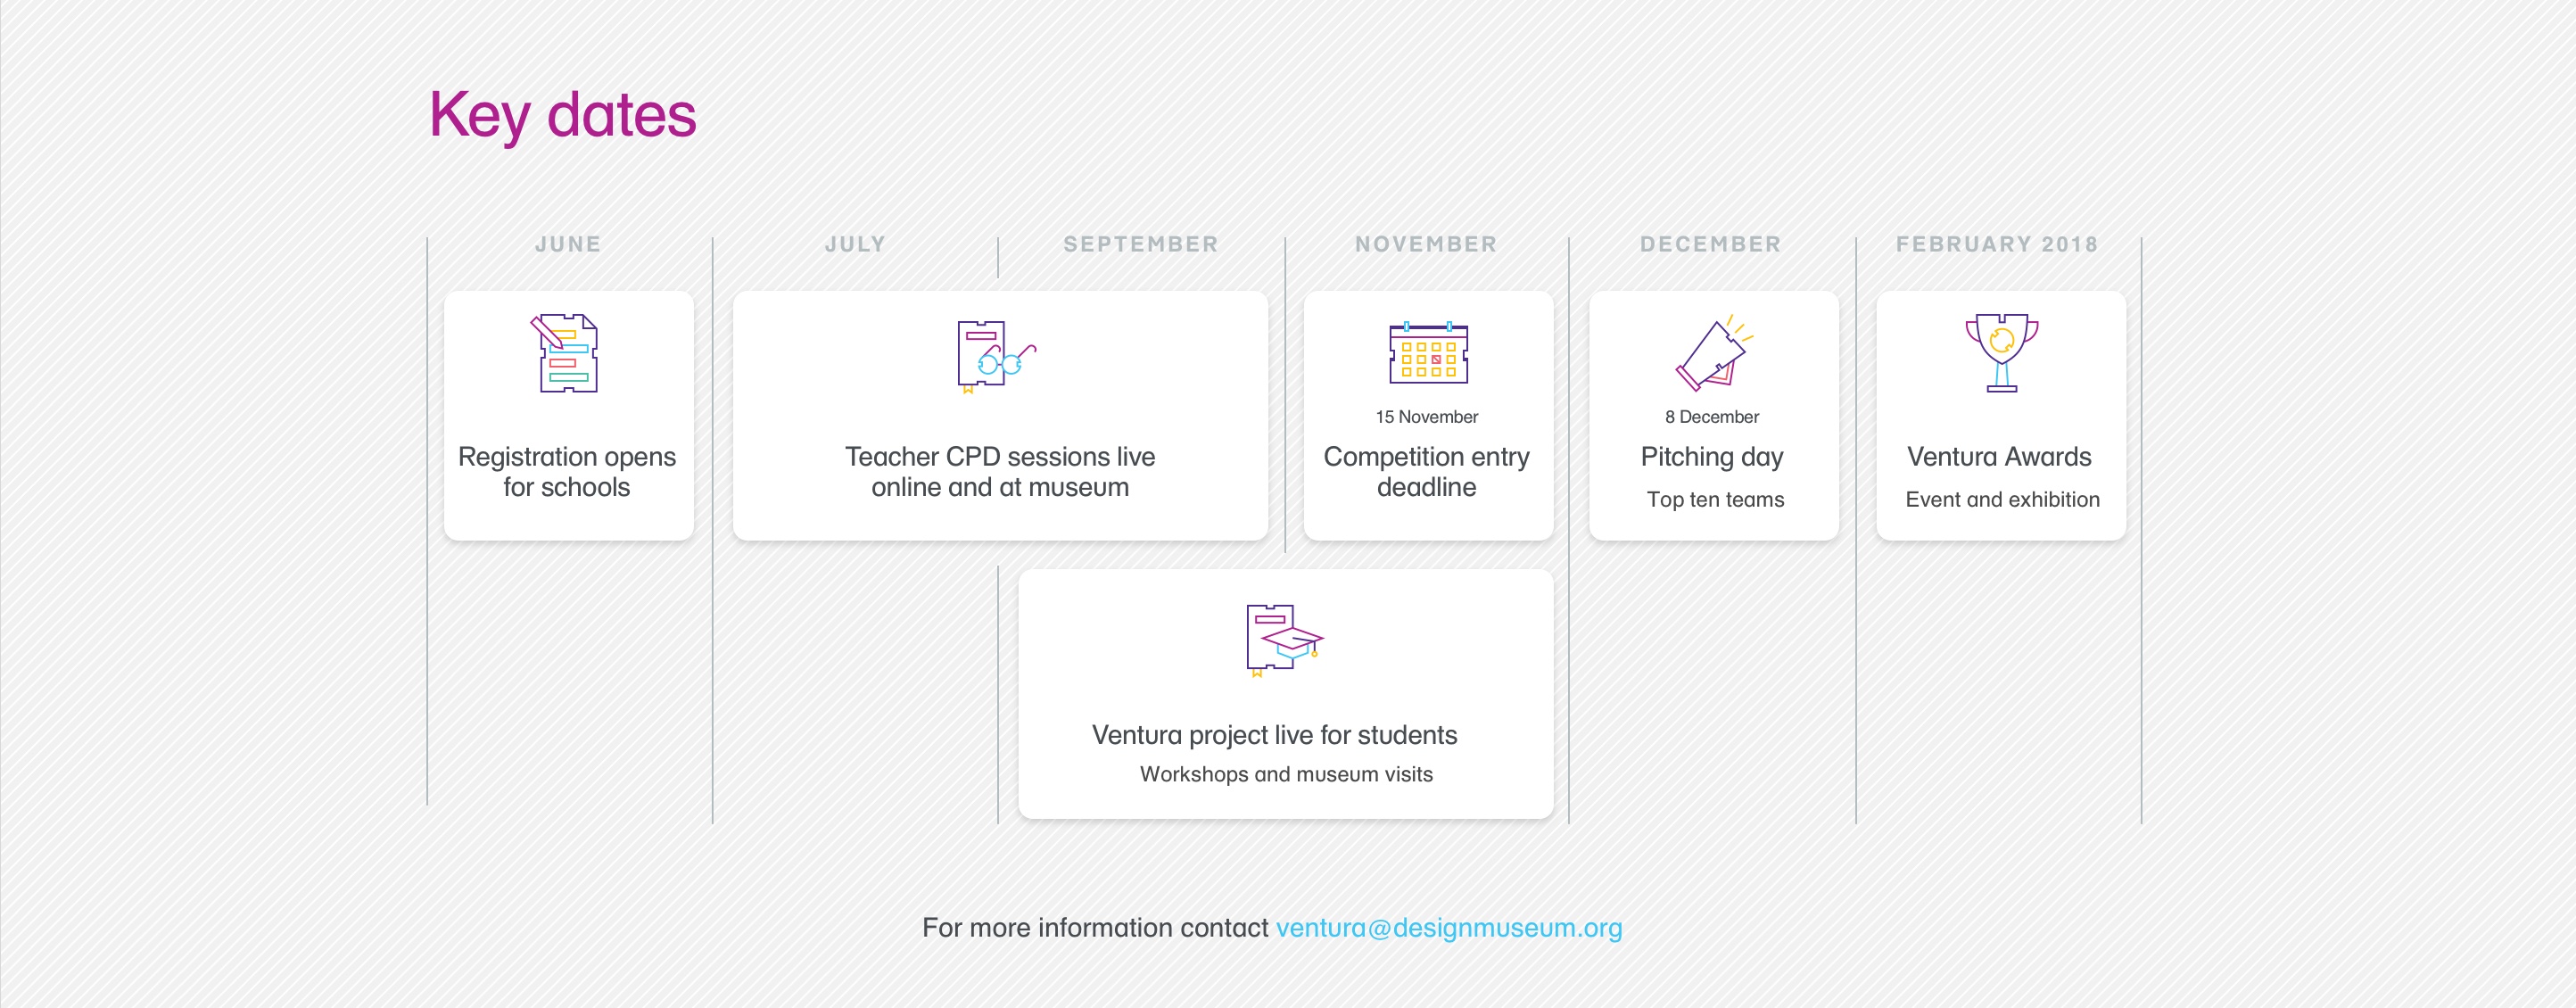
Design Ventura 2017 – Key dates
6 September – Design Ventura goes live, video brief is available
18 September – 20 October free workshops and visits to the new Design Museum in Kensington
15 November – Submission deadline for entries
24 November – Top 10 teams notified
8 December – Pitching event
February 2018 – Celebration Event
February – March – Exhibition of top ten entries at the Design MuseumYou can find all these dates and more on the Tick list.
-
Design Ventura video brief now available!
Anna Bullus, Gumdrop Ltd introduces the 2017 Design Ventura Brief.
Design Ventura Brief 2017 from Design Museum on Vimeo.
-
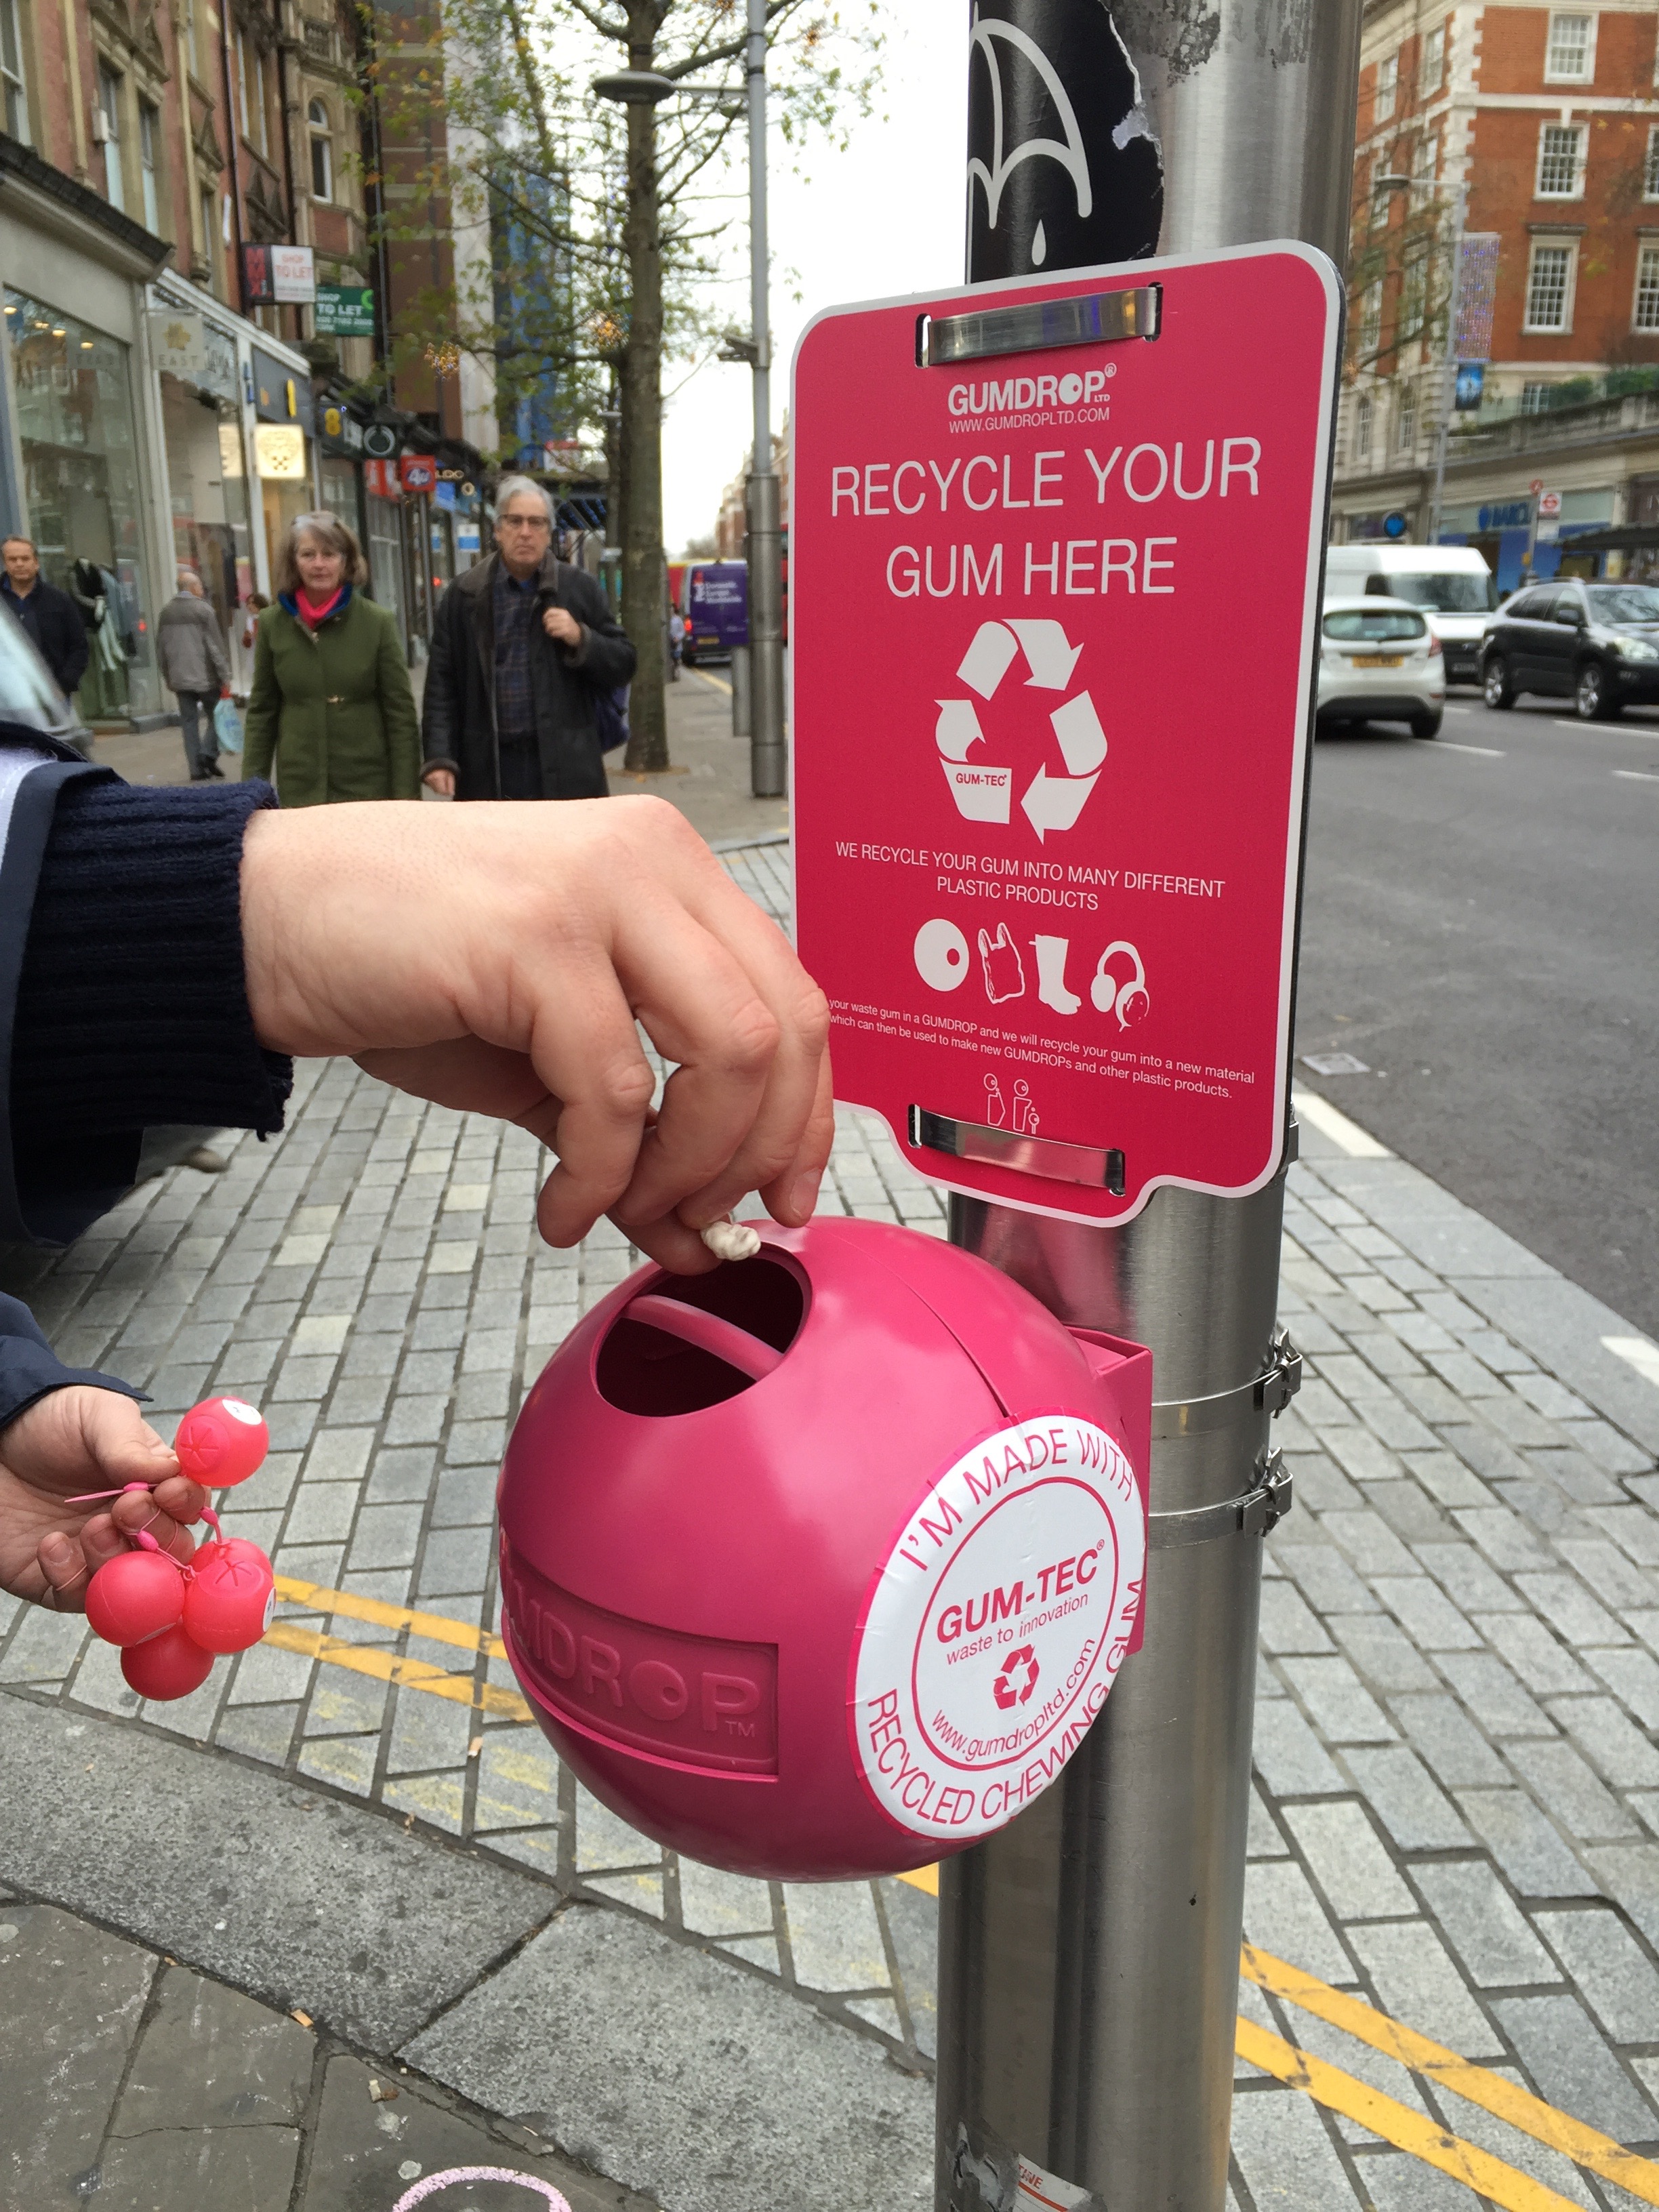
Meet the 2017 Design Ventura brief setter
Anna Bullus of Gumdrop Ltd and my gumboots, is this year’s brief setter.
Anna left School to do a foundation course at Camberwell College of Art where she specialised in Three Dimensional Design and graduated with a Distinction. She went on to study Three Dimensional Design at the University of Brighton where her idea for the Gumdrop was first born. During her degree Anna specialised in plastics and material experimentation, which led to her developing an interest in recycling.

One day when walking home from University, Anna decided to pick up every piece of litter she could find, take it home and Google each piece to find out what happened to it once it became waste, and if there were other uses for each material. Inside an empty crisp packet was a lonely piece of chewing gum that soon became the brainchild for her Gumdrops. When Anna Googled ‘chewing gum’, to look at who was recycling it and what it was made from, she could not find anyone or anything that re-used chewing gum. She quickly realised that chewing gum was everywhere, and was a major litter problem that was going unnoticed, and with that Anna decided to give gum a second life.
Anna found herself in her final year at Brighton in a Chemistry lab experimenting with different materials, temperatures, resins, you name it she tested it. After hundreds of experiments she came up with a mouldable material which could be used to manufacture a bin which would collect chewing gum and subsequently be recycled to make new bins, the Gumdrop bin was born. Anna breathed a huge sigh of relief knowing that she at last, had a product to use for her final year project, but little did she know this was going to become her career.
After leaving University with a First Class Honours Degree, Anna gained experience as a Product Designer with Hulger, and Case Furniture as a Junior Product Developer in London. At the same time Anna was showcasing her ‘gumdrop bin’ project worldwide, this generated a huge amount of demand so much so that Anna decided to leave Case Furniture to set up her own company, to tackle the global problem of chewing gum waste.
Anna needed to develop her material into a product that was commercially viable, so she approached the Polymers Department at the London Metropolitan University. Here, she spent three years developing her material from recycled chewing gum, now known as Gum-tec. Gum-tec can be used in existing manufacturing processes such as injection and blow moulding.
With her material ready and a new Gumdrop bin designed and produced, Anna launched the Gumdrops in 2010 with Legoland being one of the first sites to take them on. The Gumdrops have now travelled far and wide across the UK. Gumdrop Ltd has attracted some fantastic companies like BAA, Royal Mail, Amey, ISS, Westfield Shopping Centres and Wrigley’s. The Gumdrop Bins are proving to be a great success and reduced gum litter by up to 46% in the first 12 weeks of use.
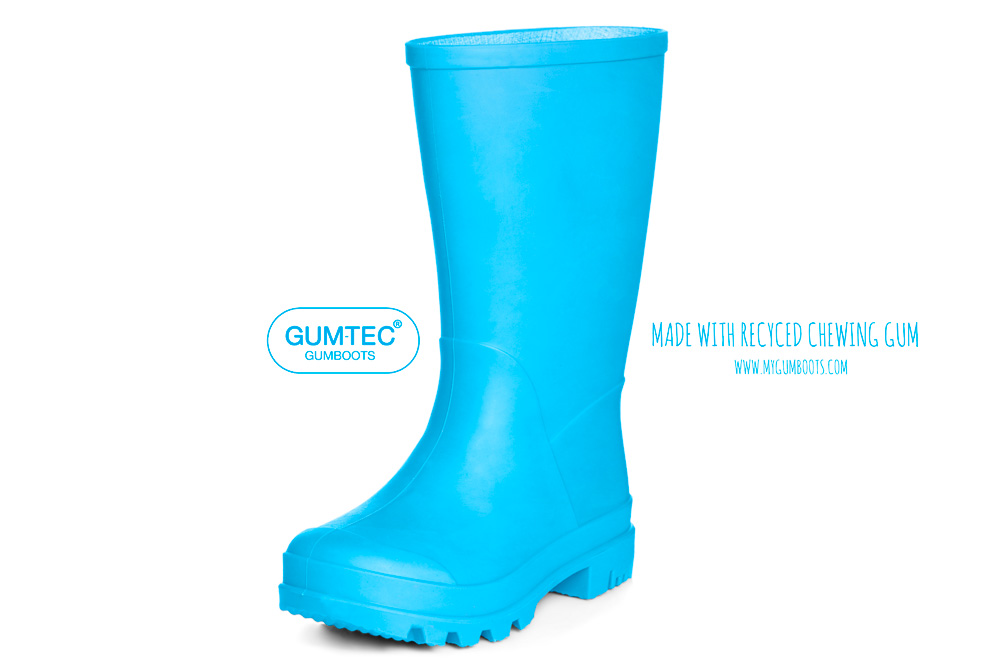
It is not just the Gumdrop bin that has developed and grown. Gum-tec is now being used to make other products such as Gum-tec Gumboots, dog bowls, rulers, frisbees and sports cones. This range of products is set to expand and grow in the future.
Anna has gone on to be nominated and win many awards for her innovative ideas, including being nominated in 2010 by the Financial Times for a place in the ‘Top 50 Women in World Business Ranking,’ in the same year she was also placed in Management Today’s ’35 Women Under 35 to Change the Future’. In 2011 she was selected as one of Kevin McCloud’s ‘Grand Designs Green Heroes’, and also selected as one of the ‘Top 20 Young Entrepreneurs’ by Start Your Own Business Magazine. In 2012 she won Tomorrow’s ‘Best Cleaning Product,’ was given a ‘Homes & Gardens Eco Designer of the Year Award,’ and was also placed in Wired Magazine’s ‘Europe’s 100 Hottest Startups 2012.’
Anna aims to deliver innovation on a global scale and continues to pursue her goals by educating and inspiring the public to reduce chewing gum waste.
The future’s green with a drop of pink.
-
Second place students visit Sebastian Conran’s Studio
On Tuesday 25 April we had a visit from the team from Reepham High School & College in Norfolk. The team came second in Design Ventura 2016 with BluPrint, their wooden, laser cut interactive toy with pop out shapes that can be combined in different ways to create imaginative, fun characters.
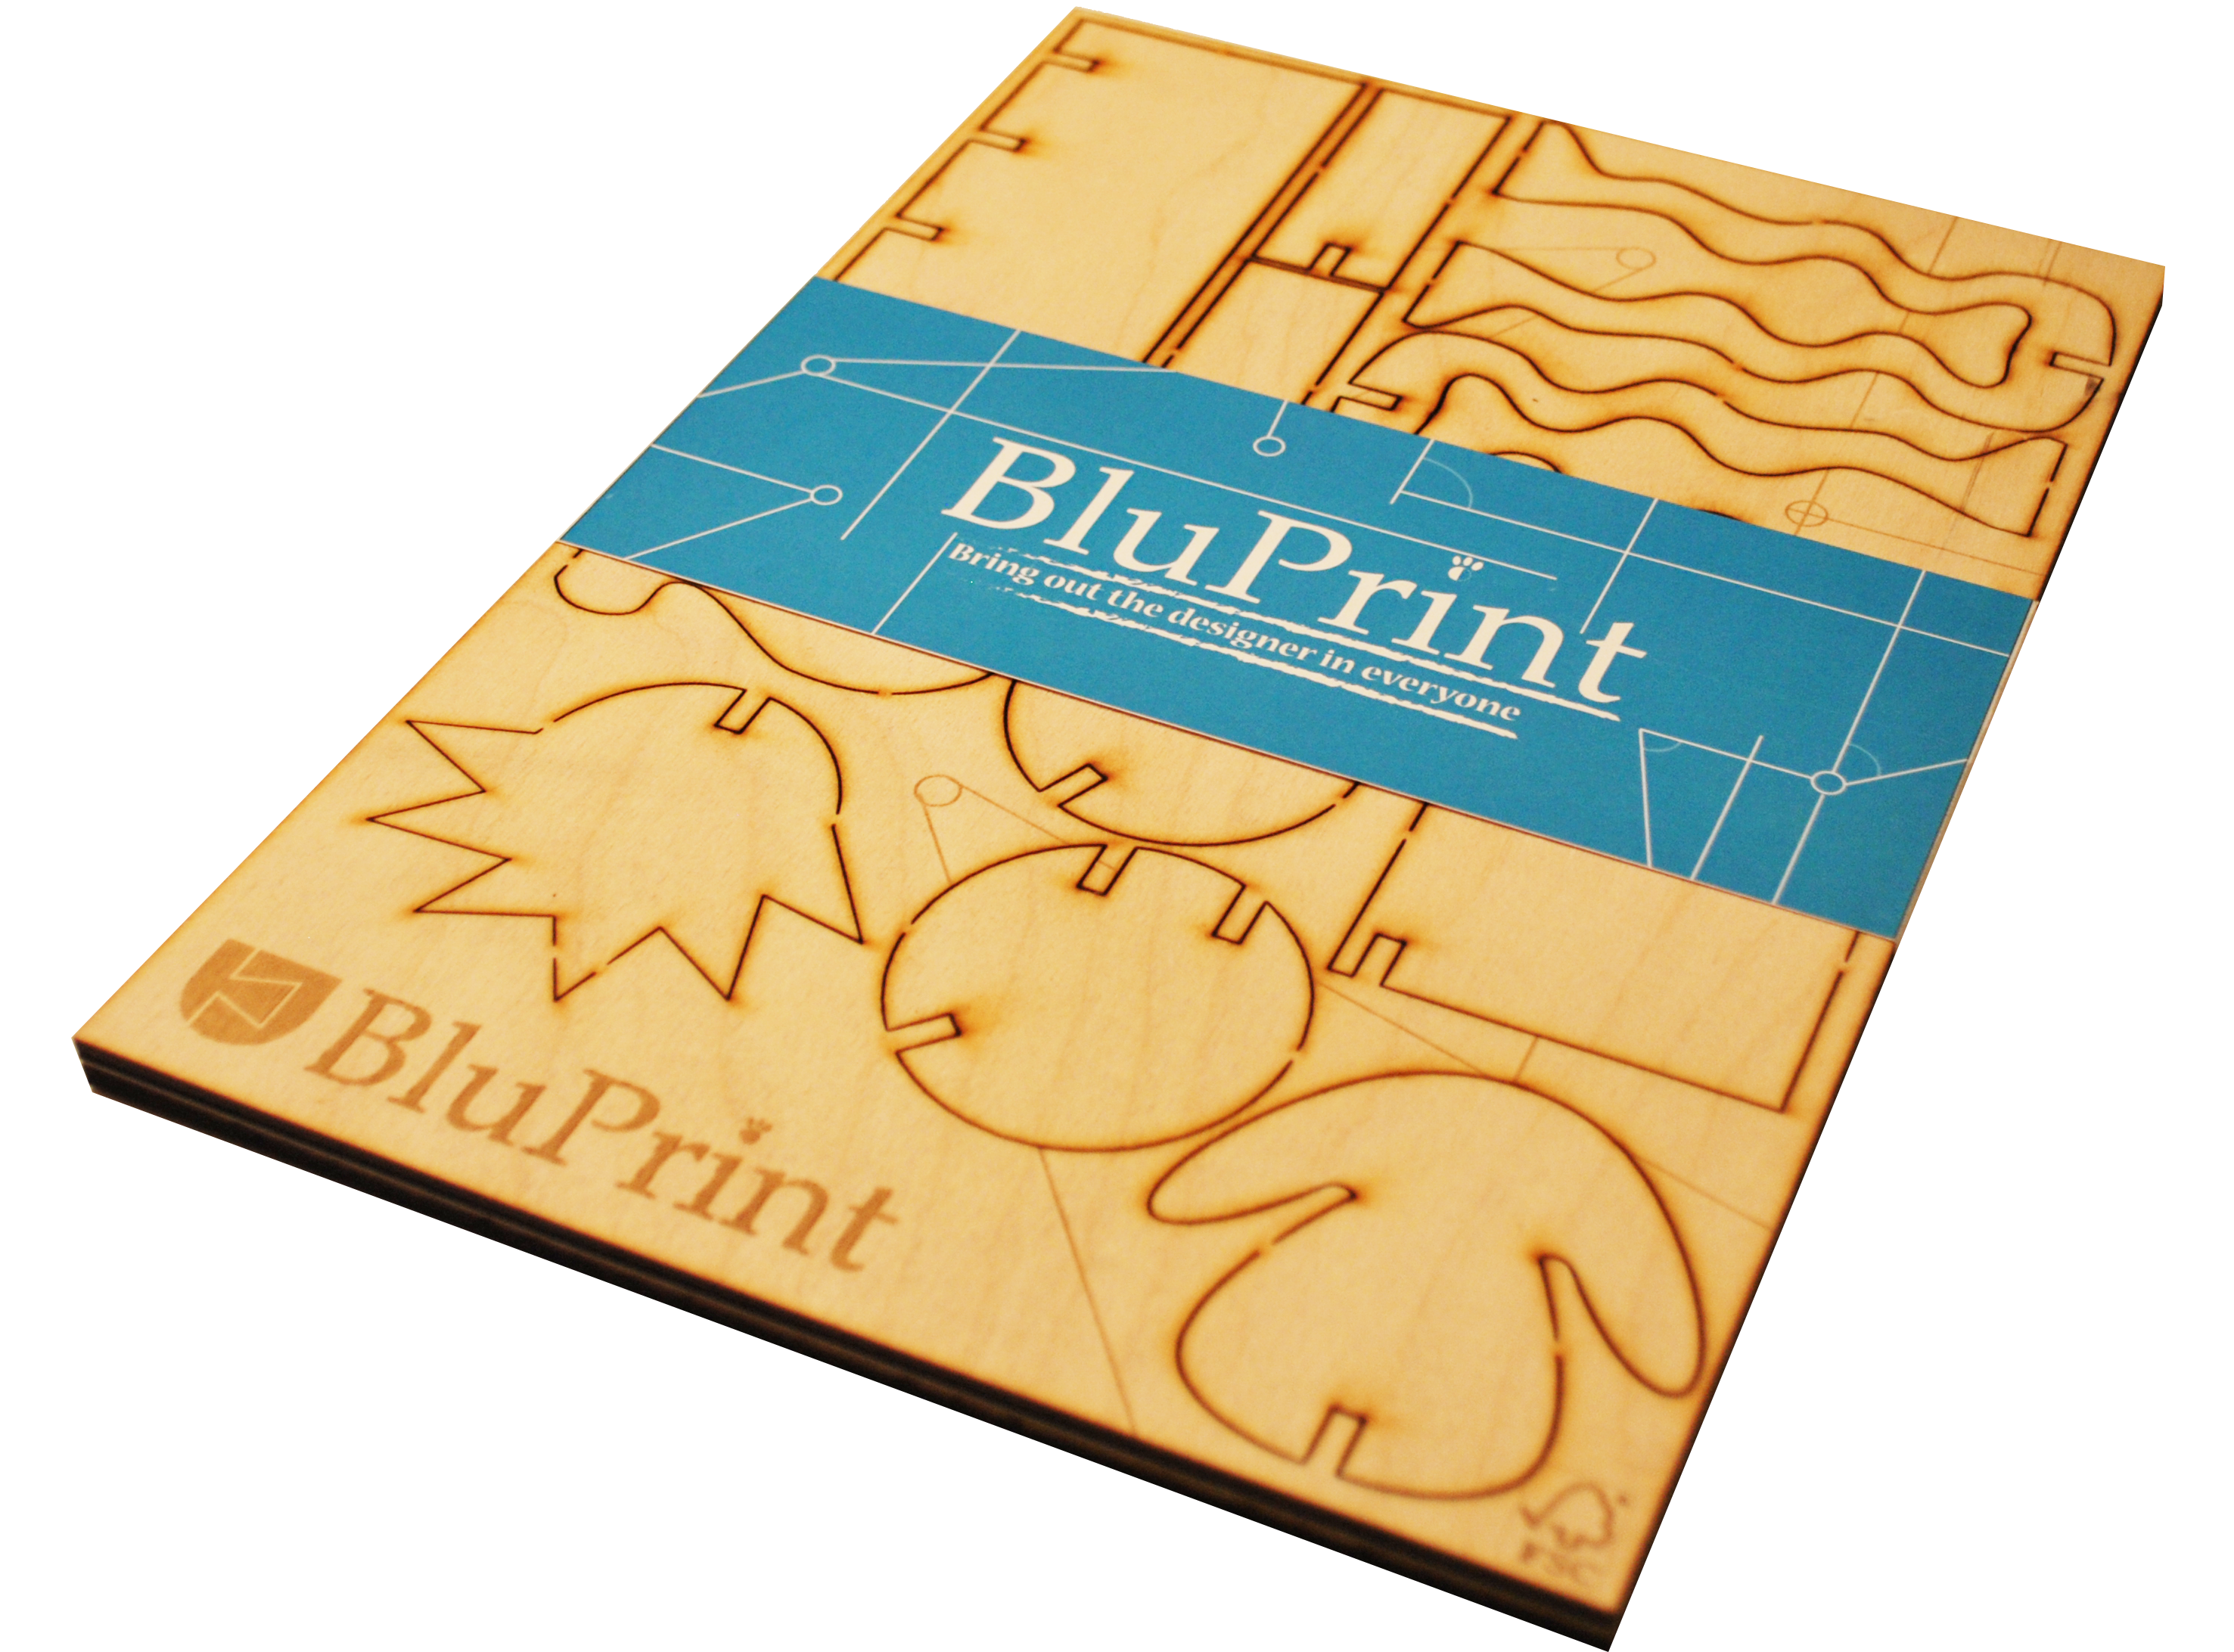
The judges thought BluPrint was a fun, creative idea which was very well presented and the team had developed a great prototype. To improve the product for sale in the Design Museum shop, the judges suggested that the team could develop their design with other design themes such as architecture or vehicles that may fit in with the Design Museum content.
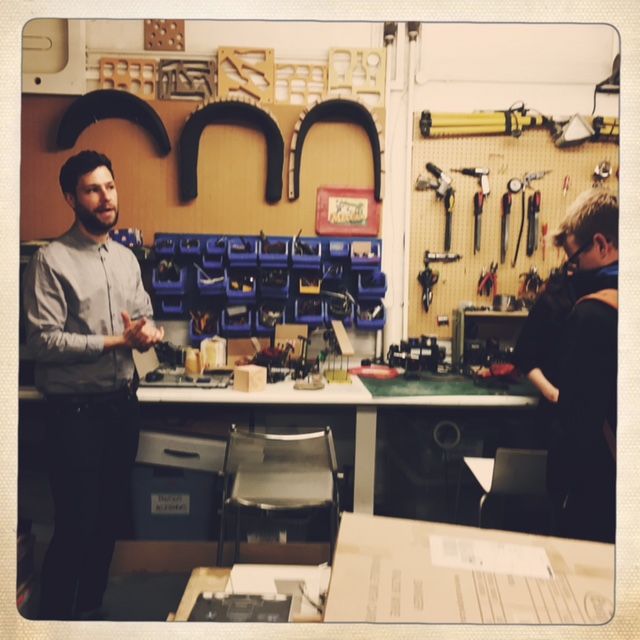
Their prize was a visit to the Sebastian Conran Associates Studio, to see behind the scenes of a product design studio and to discuss the possible development of their product.
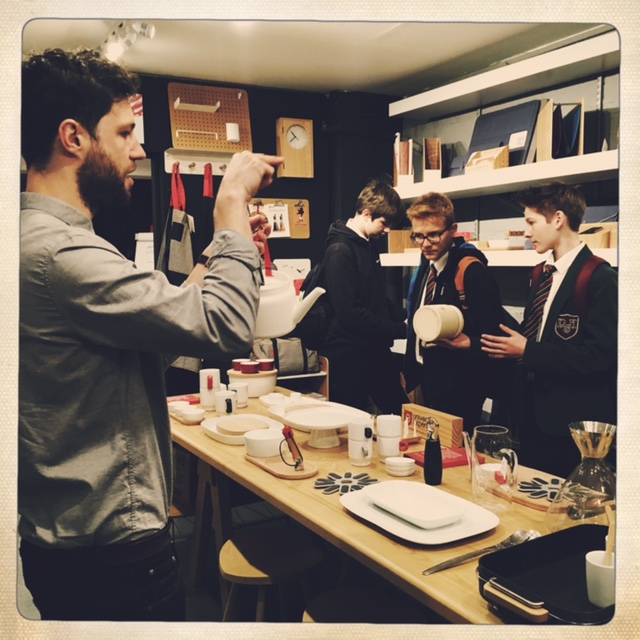
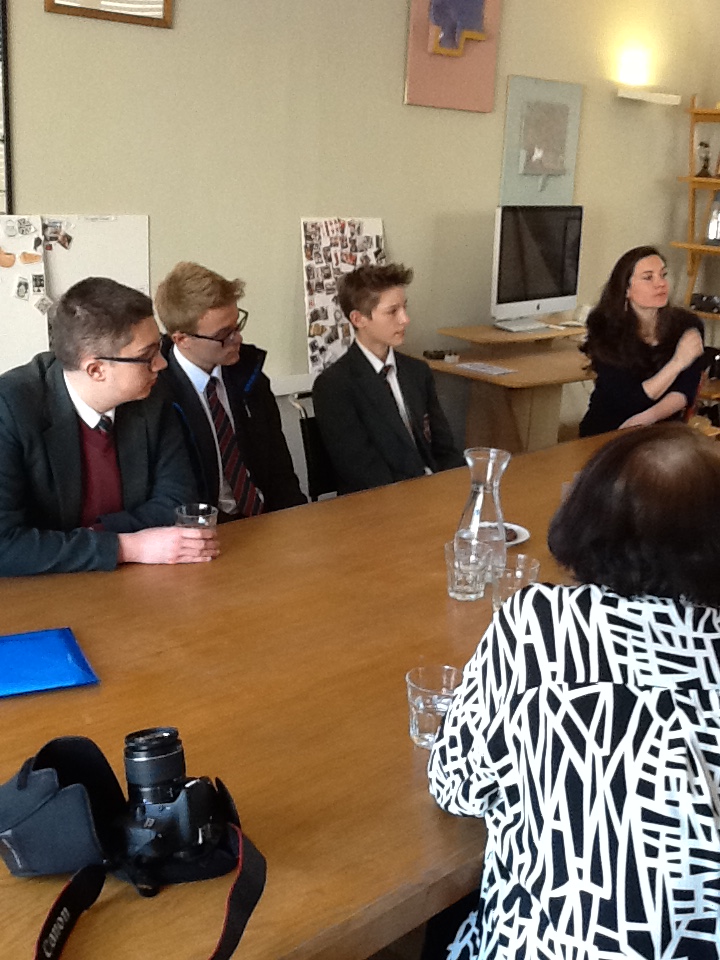
The team then worked with Sally Jones, a Design Museum Educator, to develop the marketing and a point of sale display for their product.
At the end of the day the team had positive ways to take their fantastic idea forward.
Thanks to Marie Favre and David Moseley for giving us their time.
-
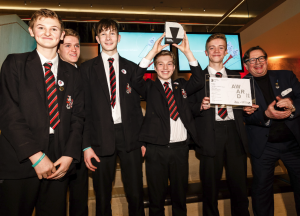
Design Ventura Pitching Day 2016
The Ventura Team were very impressed on Monday when our top ten schools came in to pitch their products to our panel of judges. Everyone looked smart and had sent in their presentations before the day, so there was time for all the teams to have a short run-through of their pitches and to get some feedback from our volunteers.
The judges; Alice Black, Asif Khan, Chris Ruse, Michael Skapinker and Sebastian Conran had a tough job choosing which teams to award prizes to, but they have reached a decision and all the prize winners will be revealed at the Celebration Event in February.

Our judges (left to right) Asif Khan, Alice Black, Chris Ruse, Sebastian Conran and Michael Skapinker.

Our top ten teams in the auditorium before the pitches begin.

The judges deliberating over the top ten ideas.

The day ended on a very hands on activity – redesigning an Ikea lamp.

-
Design Ventura Shortlist 2016
Congratulations and thank you to all Design Ventura schools that have completed the project by submitting an entry and participating in the project’s evaluation.
Our panel of shortlisting judges have selected the top entries from the 240 schools who registered to take part, the shortlisted schools will be invited to pitch their idea to a panel of judges here at the new Design Museum in mid December.
All schools that have submitted an entry will receive participation certificates in the post. The shortlisted schools will be contacted separately by email and letter with details of the pitching event.
DESIGN VENTURA SHORTLIST 2016
The Design Ventura top ten shortlisted schools for 2016 are…..
(in alphabetical order)

Alexandra Park School, London
Grow up
A flat packed plant holder that encourages the reuse of containers.

Chancellors School, Hertfordshire
Light up your life
A DIY lamp kit with bendy legs to adapt to many terrains and uses.
Dame Alice Owens School, Hertfordshire
Forest Fits
A unique set of seasonal themed coasters which fit together to create new shapes.
Endon High School, Staffordshire
Skyline Solvers
A tactile, changeable puzzle with images of London’s most popular landmarks.
Harrogate Grammar School, Harrogate
Aqua Hook
A water bottle hook that can be clipped to any loop outside of a bag to carry a bottle.
Invicta Grammar, Maidstone
Eazy Squeezy
A device that can help you to make a cup of tea safely and without mess.

Reepham High School & College, Norfolk
Bluprint
An interactive toy with pop out shapes that can be combined in different ways to create imaginative, fun characters.
St Marylebone School, London
Geompot
A biodegradable plant pot which changes colour when moist to reveal an image inspired by the Design Museum and to indicate when you need to water the plant.
St Olave’s Grammar School, Kent
Marble blocks
A puzzle game which fits together to make a course for a marble to run through.
Woking High School, Surrey
Shift
A colour changing t-shirt to encourage young people to embrace each person’s individuality.INDEPENDENT AND OVERSEAS SCHOOLS
Schools in this category will be contacted separately.
The shortlist for this category is…..
(in alphabetical order)

Chigwell School, Essex
Shadow stories
A bedtime story aid that allows a scene or character to be projected onto a wall or ceiling with the use of a light or torch.
Mill Hill School Foundation, London
Flip Switch
A product that allows children to expand their imagination by creating scenarios for their characters in iconic landmarks backdrops.

Royal Grammar School, Newcastle
Kit Control
A visual checklist enabling the user to physically and mentally check off items of sporting clothing as they pack their sports bag. -
Research and Initial Ideas begin at Mill Hill School
Alexandros Theodorou, Cassius Maxwell, Sam de Leval & Hugo Mutkins started their research and initial ideas stage yesterday evening. As a team they will be working after school on Thursdays and Saturday mornings! (school timetabled I’m afraid). Great research carried out already and some thought provoking initial ideas. Trying to keep it simple is key at the moment.
Will keep you all posted with progress.
Best wishes
Chris Mckay at Mill Hill School
-
Photographing your product or prototype
As you begin to prepare your Design Sheets for entry to the Design Ventura competition, you will invariably be thinking about how you are going to present your ideas visually. Drawings work really well to show your design concept, and diagrams and technical illustrations to accompany your written explanations will show exactly how your product works.
A prototype/mock up of your product is a great way of showing our judges how your design will work and how it will look, so please make sure you include photos of these prototypes if you can. Here are some tips for taking a great product photo:
Natural Light
Set up a table near a window for your photoshoot – sun diffused through cloudy skies or a white sheet makes an excellent setting for a product photo. Really bright direct sunlight or a camera flash create strong dark shadows and make products look less attractive.Background
Use a big piece of paper or a plain colour piece of cloth as your background to make your product really stand out. To create a seamless sweeping backdrop, stick your piece of paper to the wall and drape it over the table in front and then place your product on top.
Learn how to create a seamless backdrop in this tutorial from Fstoppers.
Tripod
Set your camera or phone up on a tripod to make sure the image won’t be blurry. If you don’t have a tripod, improvise! Find a place to rest your camera and use the timer setting to make sure the photo isn’t affected by shaky hands. Sometimes, even a steady hand can create a blurry photo, so find away to rest your camera securely on the table for the optimum shot.Perspective
To really help the Design Ventura judges understand your design, it is a good idea to take photos of your product from a couple of angles. If it opens, show it open and closed. If it has a great design on the other side, make sure to take a photo of that.
Photos are a great way of telling your products story – Globe Academy’s Design Ventura entry for a foldable plate, Dish Dash, used photographs to help explain how the product worked.
-
Tips for effective communication
To be able to communicate effectively and engage your audience can be a challenging task and requires practice. Even politicians and public figures have practised speaking many times to develop this skill. The more you practice in front of a trial audience and ask for feedback the better you will be on the day of your presentation.
From my own experience, speaking in front of an audience can be daunting. People pay as much attention to what you say as to how you say it.. So it is just as important to work on the way you deliver your message as the content.
The key components of effective communication are content, structure and delivery.
Content
Ask yourself what you expect the audience to take away after your presentation and do not assume that your audience has previous knowledge about what you are going to talk about.Concise and simple content is more digestible than when it’s lengthy and detailed. Think about 3-5 main bullet points or headlines that best summarise your content.
Structure
To structure your presentation it would be useful to ask yourself the below questions:- Who is your audience?
- What is the problem?
- What is your solution/idea?
- What is your product?
- What are the key features and how do they solve the problem?
- Key takeaways
Delivery
Your presentation should be engaging to the audience – one person reading from a powerpoint is not very memorable. Some ways to make your presentation more engaging could be by asking questions, telling a personal story they can relate to or using puzzles and analogies.Body language, eye contact and tone of voice can also influence the impact of your message.Try using your arms when emphasising a strong point or modulate your voice.
Planning ahead and practicing will give you confidence in communicating to an audience, not only when trying to pitch, but in any situation where you need present in front of a group of people..
Finally, try to have fun and see your presentation as a chance to let people know about your unique idea!
Written by Ha Dinh, Treasury – Deutsche Bank
-
Collaging Your Ideas
A great method that will guide you though the design process and help you when collating your design sheets for competition entry is the creation of a collage, which by definition is a piece of art made by sticking various different materials such as photographs and pieces of paper or fabric on to a backing.
Purpose?
Collage is a visualisation technique that can help you to determine and express the colour palette of the product, materials, shapes; the context and even your target market as this new universe that you’re creating needs to relate to them.How to create a collage

- Decide what you want to communicate and brainstorm words that relate to your project. Using abstract concepts at the beginning will help you to broaden your imagination and give you more possibilities.
- Search images that relate to those ideas. Use magazines, newspapers, Google, and gather as much content as possible. Analogies from different disciplines are great sources of inspiration.
- Select the most relevant images and start playing around. Decide the orientation of the background; consider the size of the images, their separation/integration and structure the composition.
- Once the collage meets your expectations paste everything together or if you’ve been working with online images then use Illustrator or Photoshop, as they are great tools to modify the images and make them look exactly how you would like.
- The collage summarises the concept you’re working on. So how do you know if it´s right? Show it to your teachers, friends or even to your mum and ask them what they see… if they mention some of the concept you brainstormed, you’re on the right track. You could use some of these collaged visualisations of your ideas as part of your entry sheets if they really help communicate the feel of your product.


Collages help structuring, developing, analysing and presenting visual issues that are difficult to express in words so if the direction of the project hasn’t been defined or you’re struggling with the user/ colours/ context then doing one is a great way to develop your ideas or a great way to consolidate and express your ideas for your design sheets!
By Design Expert Andrea Amistadi
-
The Design Process – From Crisis to Creativity
How to navigate the design process from crisis to creativity, with real world design project experience from Design Industry Expert Andrea Amistadi.
Andrea explains more:
Being that this year’s Design Ventura competition relates to the theme of move I want to share a project, which my friend and I worked on while being design students. The assignment was to develop a contemporary dance costume whose shape had to change when being used.
Where do we start? Research!
We researched the concept of movement in different disciplines: art, dance, everyday objects and fashion, as we needed to understand how to translate that into a costume. Our first source of inspiration ended up being a Chinese lantern and how its shape and dimension change when you start playing with it.
Inspiration and ideas!
- Op-art and kinetic art: colours and shapes to create optical illusions.
- Fashion: we needed to know what’s already out there.
- Contemporary dance: we had to understand the body in movement in order to create a costume for it. As a designer, you think about needs.
- Materials: soft, light, flexible and stretchy to allow movement.
- Colours: bright, they needed to be seen.

Once we had enough information we created a prototype and tested it. Is it easy to wear? Is it too heavy? Does it actually change its shape? What isn’t working? We had a long process of testing, implementation, evaluation and redesign.
Crisis
Four days before our deadline, things weren’t going that well, we received terrible feedback when showing the prototype, it didn´t look good or interesting and it wasn´t working properly either. We were running out of time and freaking out. We started the project having a great idea, but by the end there was tension and we needed to find a quick solution if we wanted to make it work.How do you move on from crisis?
First we needed to identify the problem. We asked for feedback, we went back to our research. We tested some of the solutions and realised that by changing the materials we would gain more flexibility and reduce the weight. So now we needed to refine the design which meant building it from scratch… Ahhhhh!!!!We spent the next three days sewing, making the weirdest dance moves, taking pictures, eating loads of crisps, not getting much sleep and also having fun.
What we learnt from this experience?
The design process is not a linear path; it’s all about keeping an open mind, finding ways to improve, being critical and researching. You might need to go back to the beginning sometimes to find a solution but that’s the way it works. Be open to opinions, curiosity and experiment. Talk to your team members, teachers and share your ideas with people that are not involved in the project, so you´ll get a fresh perspective. Ideas and solutions come from the most unexpected places, so keep your eyes open.
So what happened in the end with our contemporary dance costume? Well… it ended up being published in a fashion and arts magazine and also was featured as part of an exhibition showcasing new products and trends of young designers. We were very proud in the end but it is the memory of that very long weekend when everything ‘clicked’ together, working as part of a team and having fun what we still remember the most.
-
Cheap Materials for Clever Design
When thinking about good design, sometimes the most simple of materials can lead to innovative, cheap, practical or beautiful solutions.
Paper is a fantastically versatile material; although it seems everyday, designers have elevated the material by using it in new ways. Even just considering different kinds of paper chair, as in this blog post, you can see the myriad different ways a simple material can be manipulated through clever design practice.
This environmentally friendly chair by Peter Plantan and Nusa Zupanc uses a sandwiching technique, gluing together thousands of pieces of paper to create a dense structurally stable material almost like plywood. through layering and gluing, flimsy newspaper becomes strong enough to sit on. Check out their design blog to find out more about the design and construction process.

This pop-up chair “Watching You”, designed by Sekita Design Studio, uses thin sheets organised in a waffle form to give it strength. If you push it from the side it will collapse easily and fold away, but when you exert downwards pressure on it by sitting down it should stay standing.

Christian Feibig’s Polygonal Paper Chair is based on computer rendering of a Chesterfield chair using only polygonal faces. This chair looks beautiful, but do you think it would break if you sat on it?


This chair designed by Anton Green uses folded paper in triangle shapes to create a really strong and “sittable” chair just from paper. This is an example of how great design can create a beautiful looking and functional product from a simple and inexpensive material.

