Resources Index
-
Design Ventura 2023-24 Webinars
Our webinars feature designers at various stages in their careers, speaking about their work and offering top tips for each stage of the Design Ventura project. They are suitable for teachers and students. Here are our 4 webinars from this year:
Webinar 1 with Sophie Puffett.
Webinar 2 with Rob Earl-Ocran.
Webinar 3 with Loki Xu.
Webinar 4 with Rachel Glinsman.
-
Design Ventura 2022-23 Webinars
Design Ventura webinars are for teachers and students. They feature leading designers speaking about their work and offering top tips for each stage of the Design Ventura project. You can watch all four webinars from this year’s programme below:
Webinar 1: User Research and Audiences with Designer, Imran Nazerali.
Webinar 2: Sustainable Materials with Maria Giovanna Sandrini from Econyl.
Webinar 3: Business of Design with Alex Asomuyide, Head of UX Credit Risk at Deutsche Bank.
Webinar 4: Creative Process with Yamuna Forzani
-
Design Ventura 2021-22 Webinars
Design Ventura webinars are for teachers and students. They feature leading designers speaking about their work and offering top tips for each stage of the Design Ventura project. You can watch all four webinars from this year’s programme below:
Webinar 1: Audiences with Resolve Collective
Akil Scafe-Smith, Designer and Co-Founder of Resolve Collective talks about audiencesWebinar 2: Coming up with Ideas with Fixperts
Daniel Charny, Co-Founder and Creative Director of Fixperts talks about coming up with ideasWebinar 3: Prototyping & Materials with Helen Kirkum Studio
Sustainable sneaker designer Helen Kirkum talks about prototyping and materialsWebinar 4 – Colour & Communication with The Fandangoe Kid
Annie Nicholson, aka The Fandangoe Kid, talks about colour and communicationPlease share these videos with your students and please take a moment to give us your feedback here.
-
What it’s like to volunteer for Design Ventura

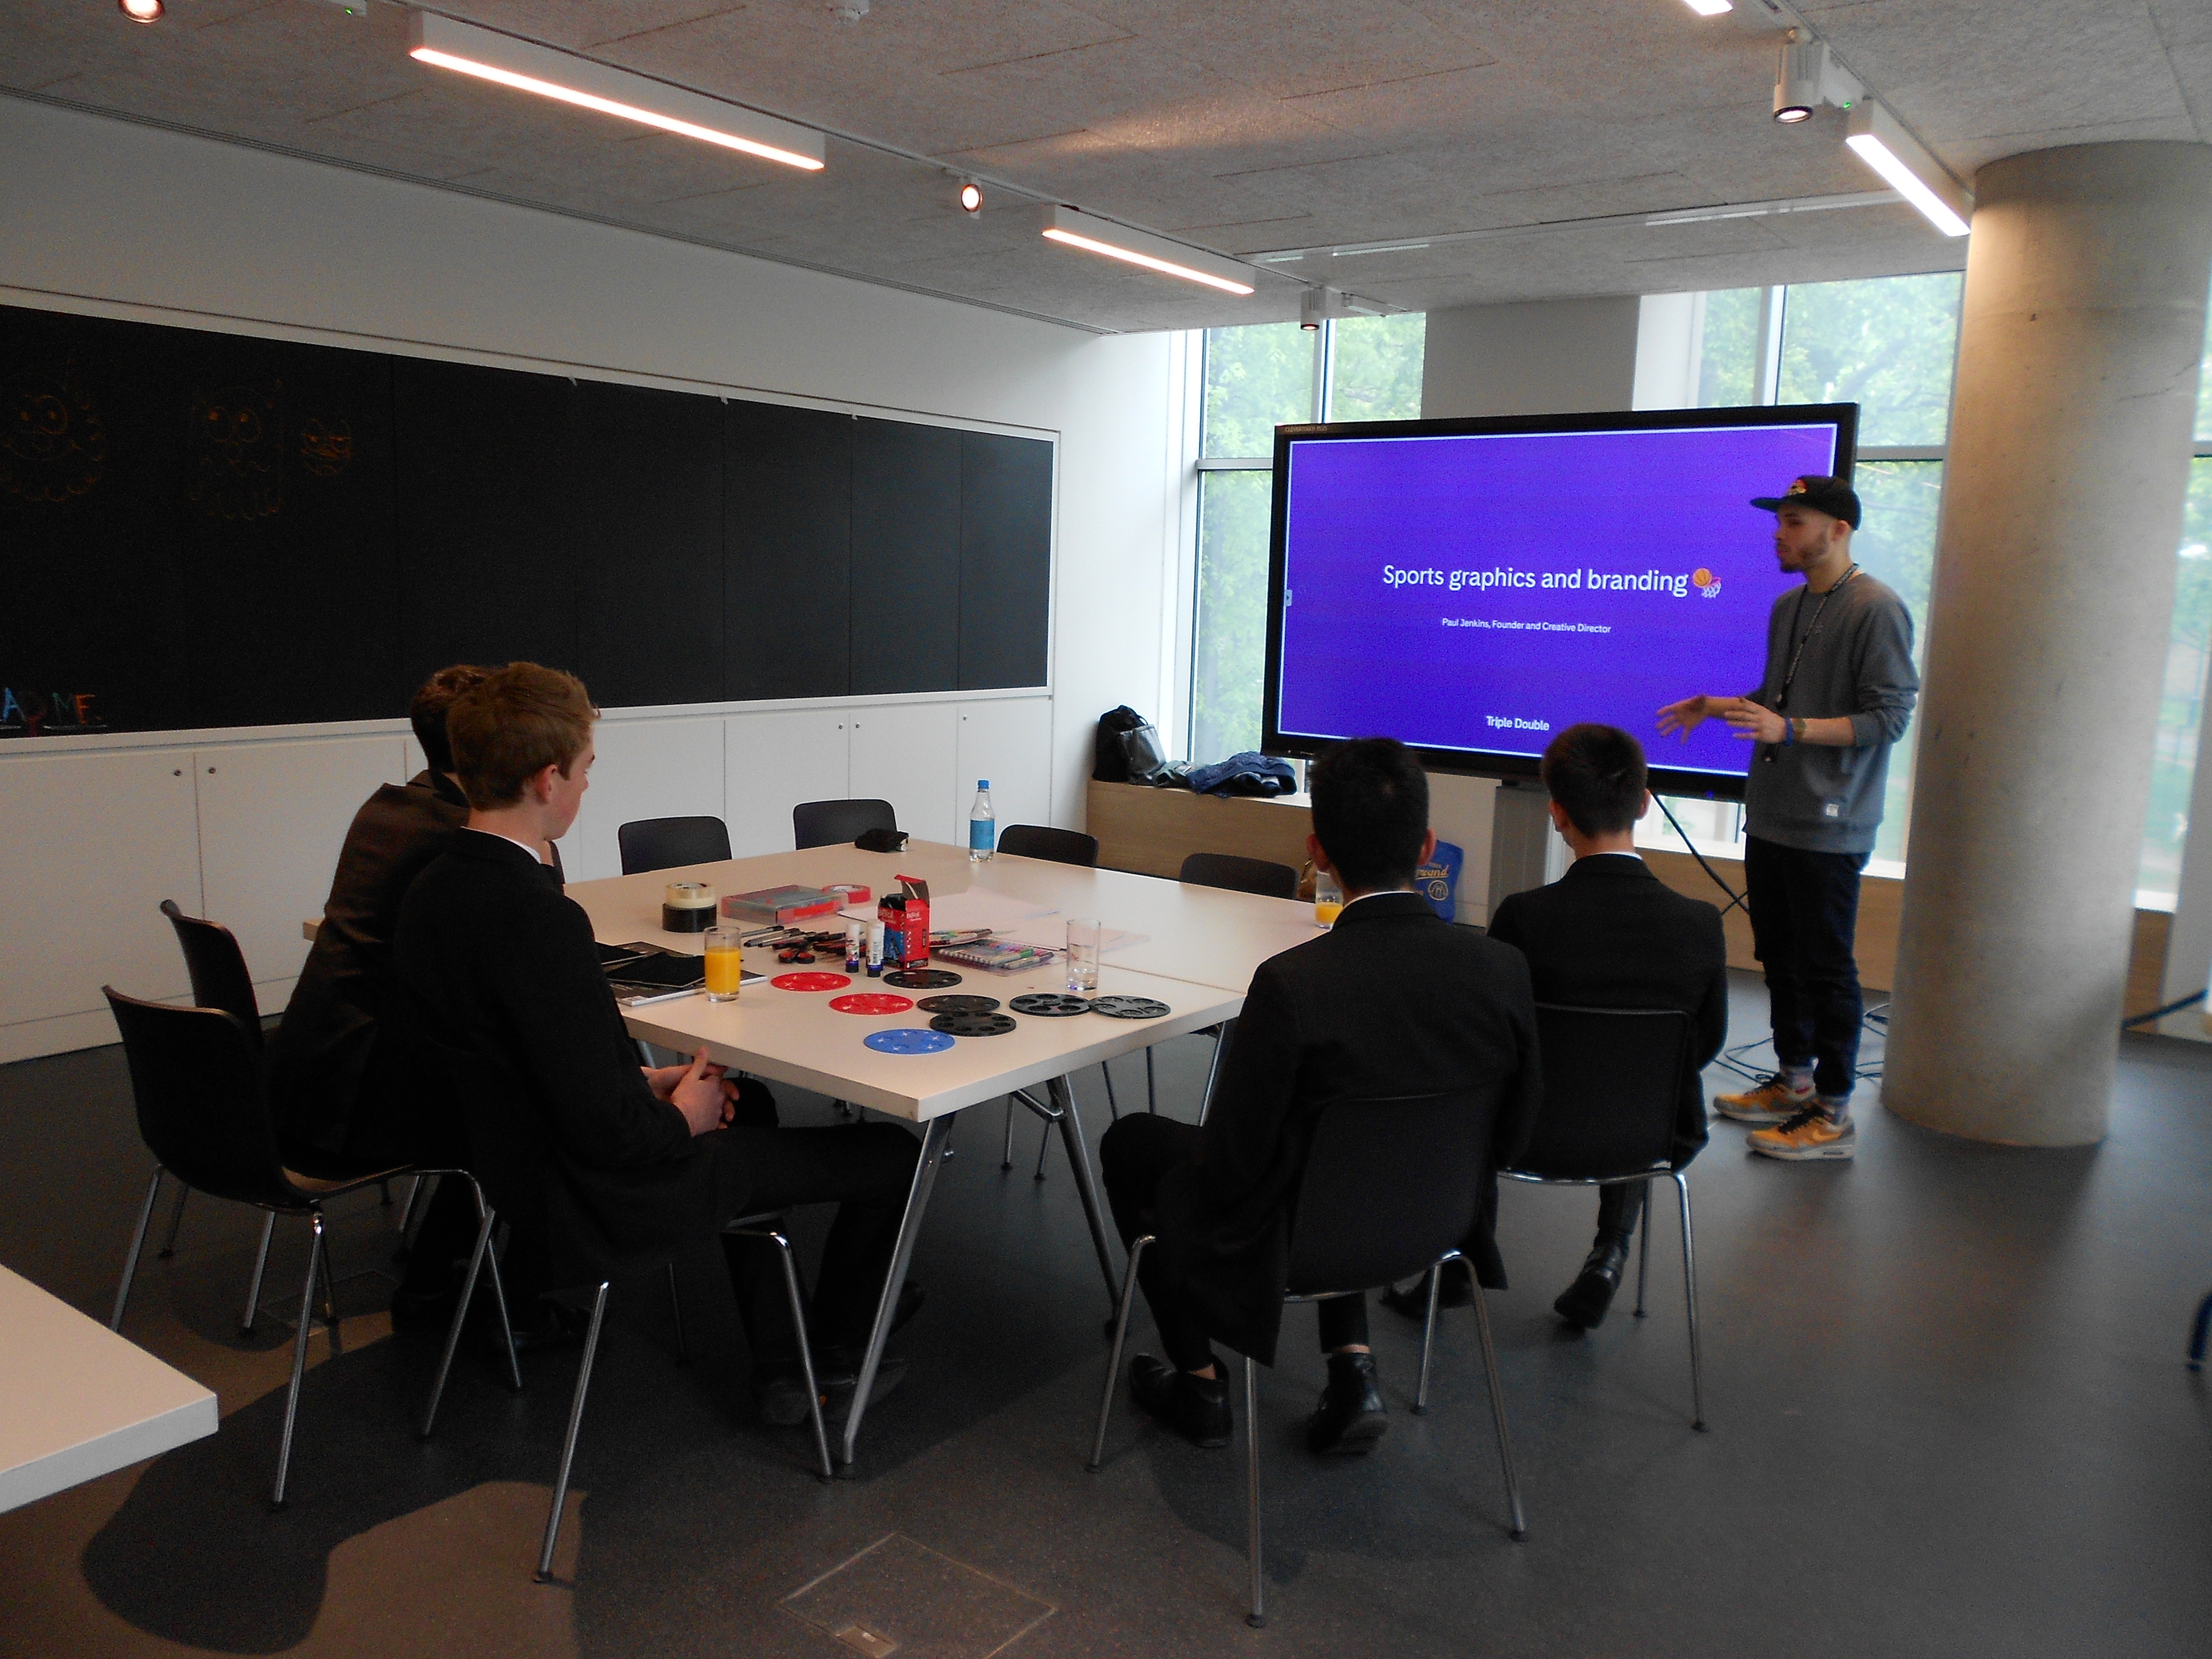
Hello, I’m Paul Jenkins, the Founder and Creative Director at Triple Double. We are a design studio who solve problems and get work done – creating, refreshing and fixing. Oh, and we love basketball. We work with clients such as adidas Originals, Airbnb, BBC, Ellesse, General Assembly, Mercari Europe, Nike, Thames & Hudson and Wellcome Collection.
My role involves leading on creative and design projects, working collaboratively with clients and their internal teams. We team up with specialist collaborators across design, illustration, photography, film and digital when needed as well. Before starting Triple Double, I held design, creative and art director roles at Selfridges, Mother London, U-Dox and Pentland Brands.
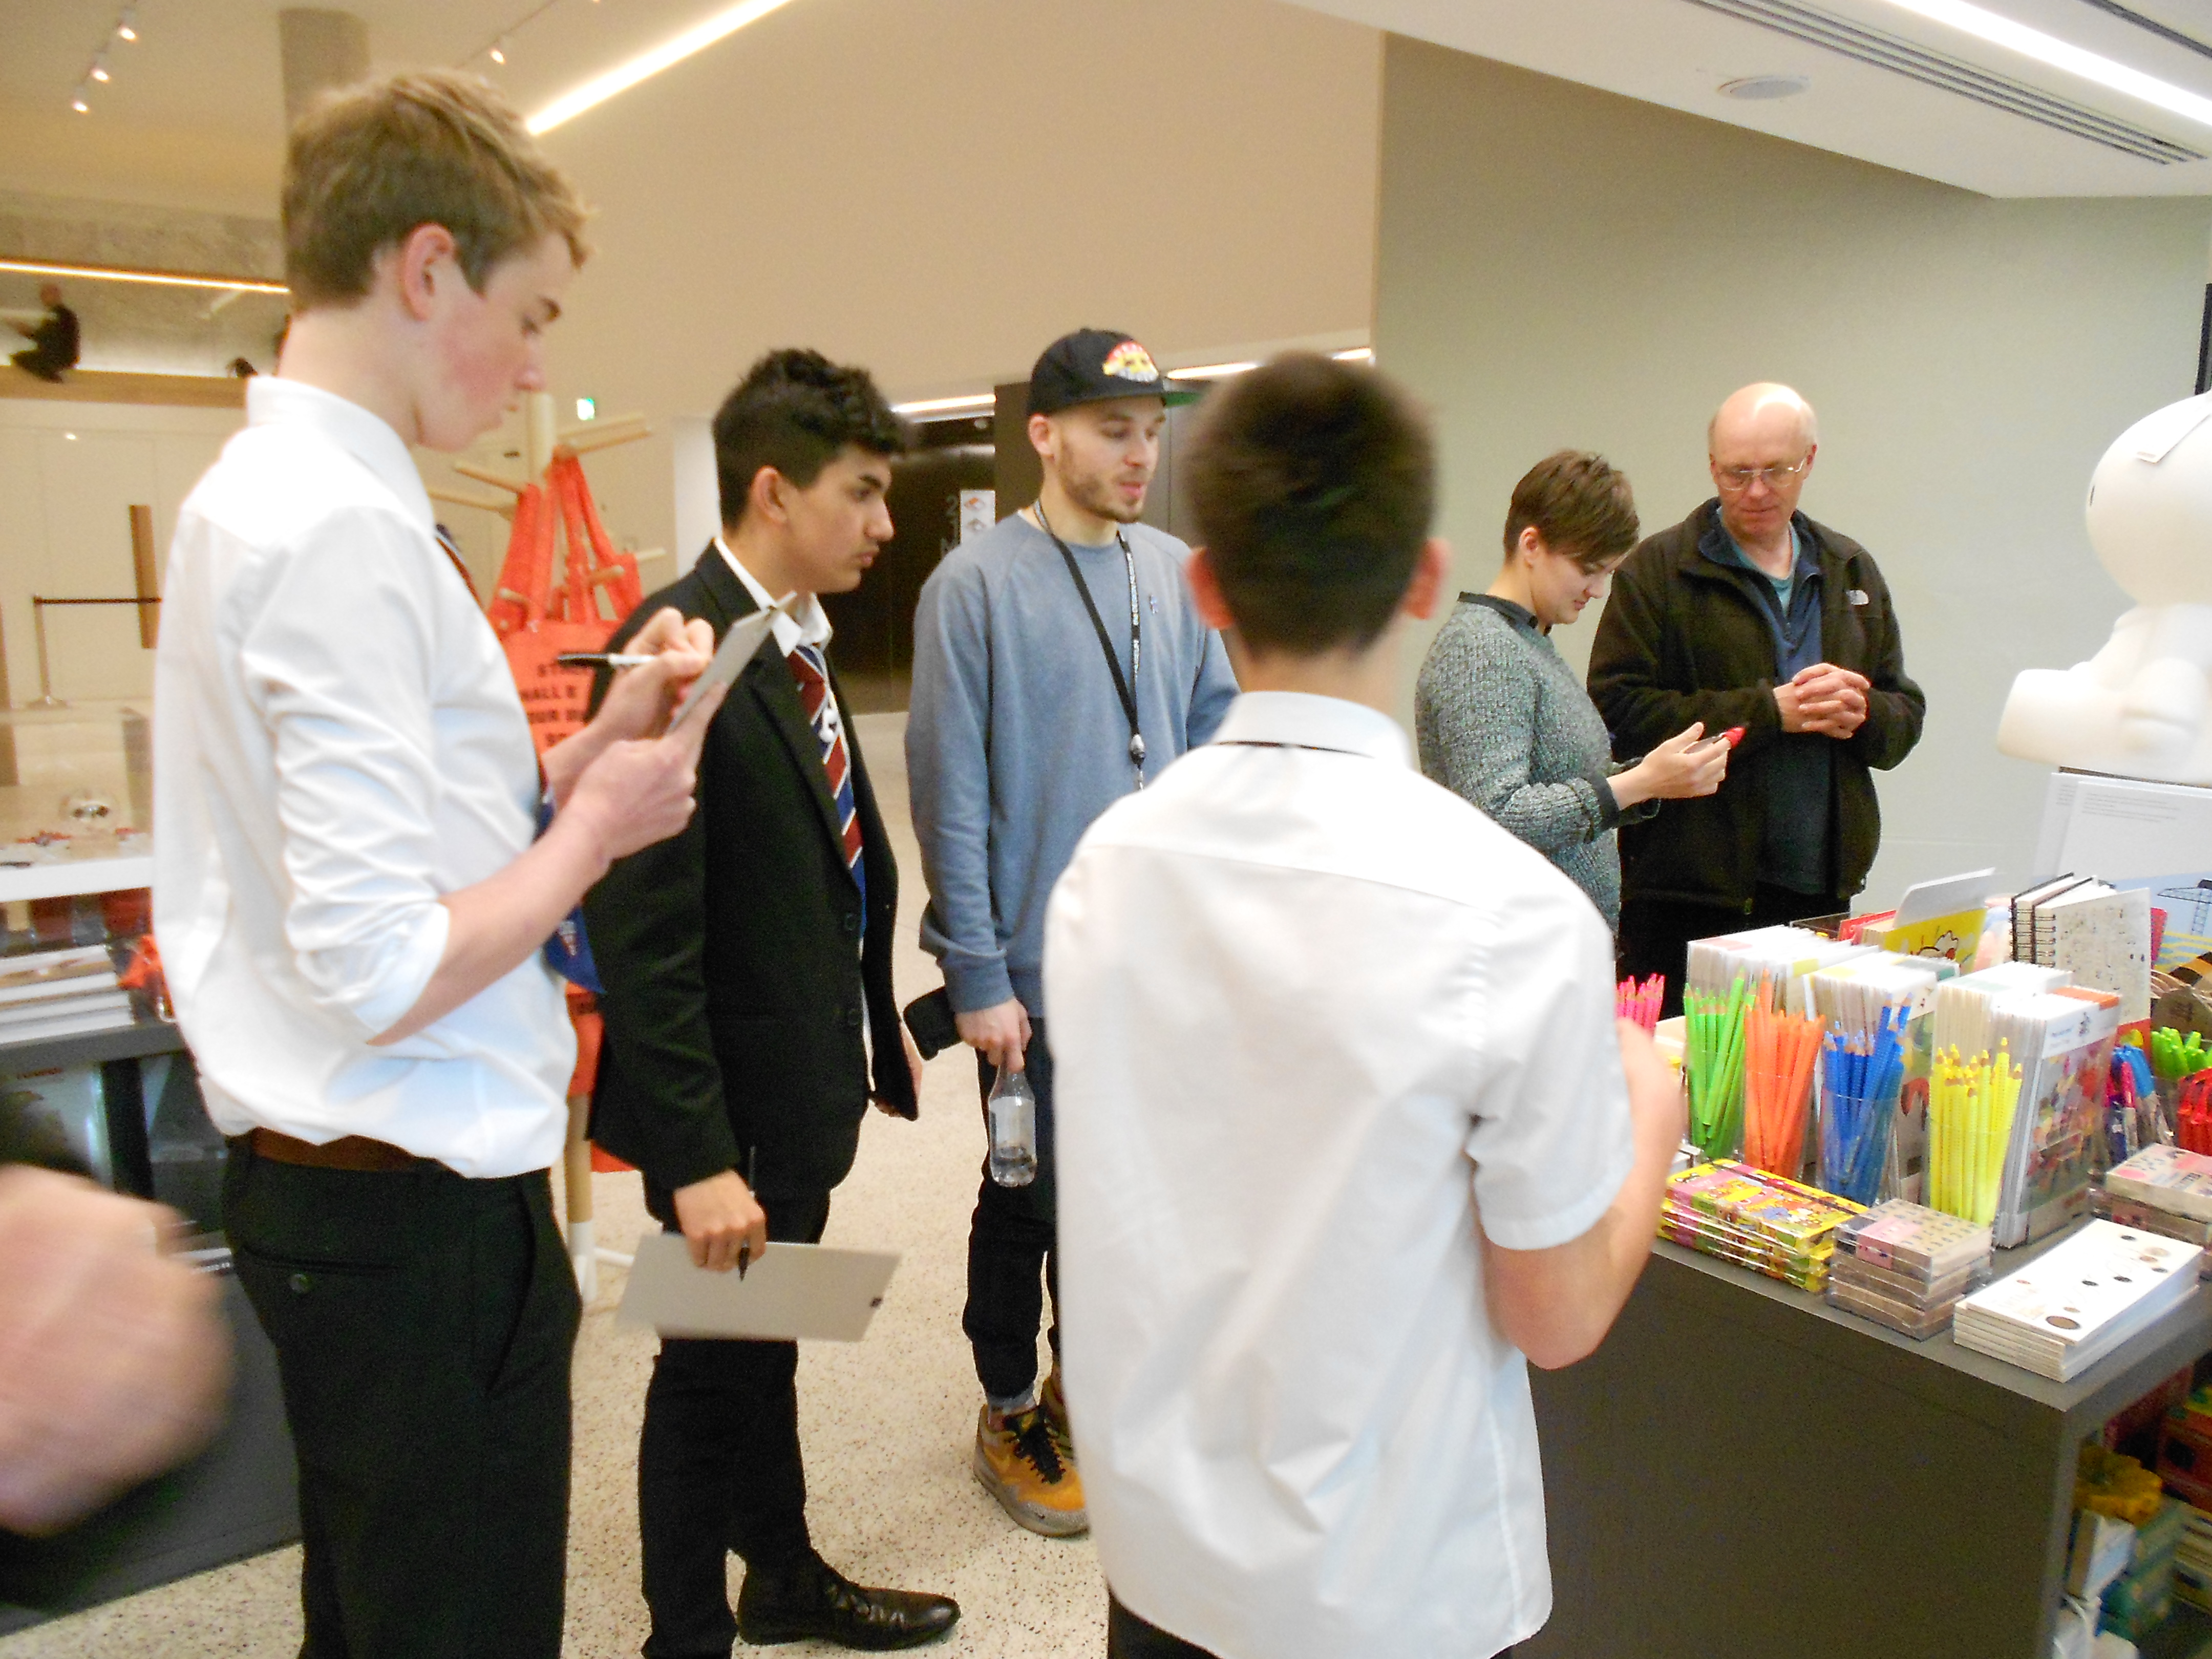
Over the years I’ve worked across sports and fashion brands, from campaigns and product launches to projects such as Nike78. It was a natural fit for my experience so when I was asked to be the design volunteer supporting the Independent school winner’s prize day in April 2017, I jumped at the opportunity.
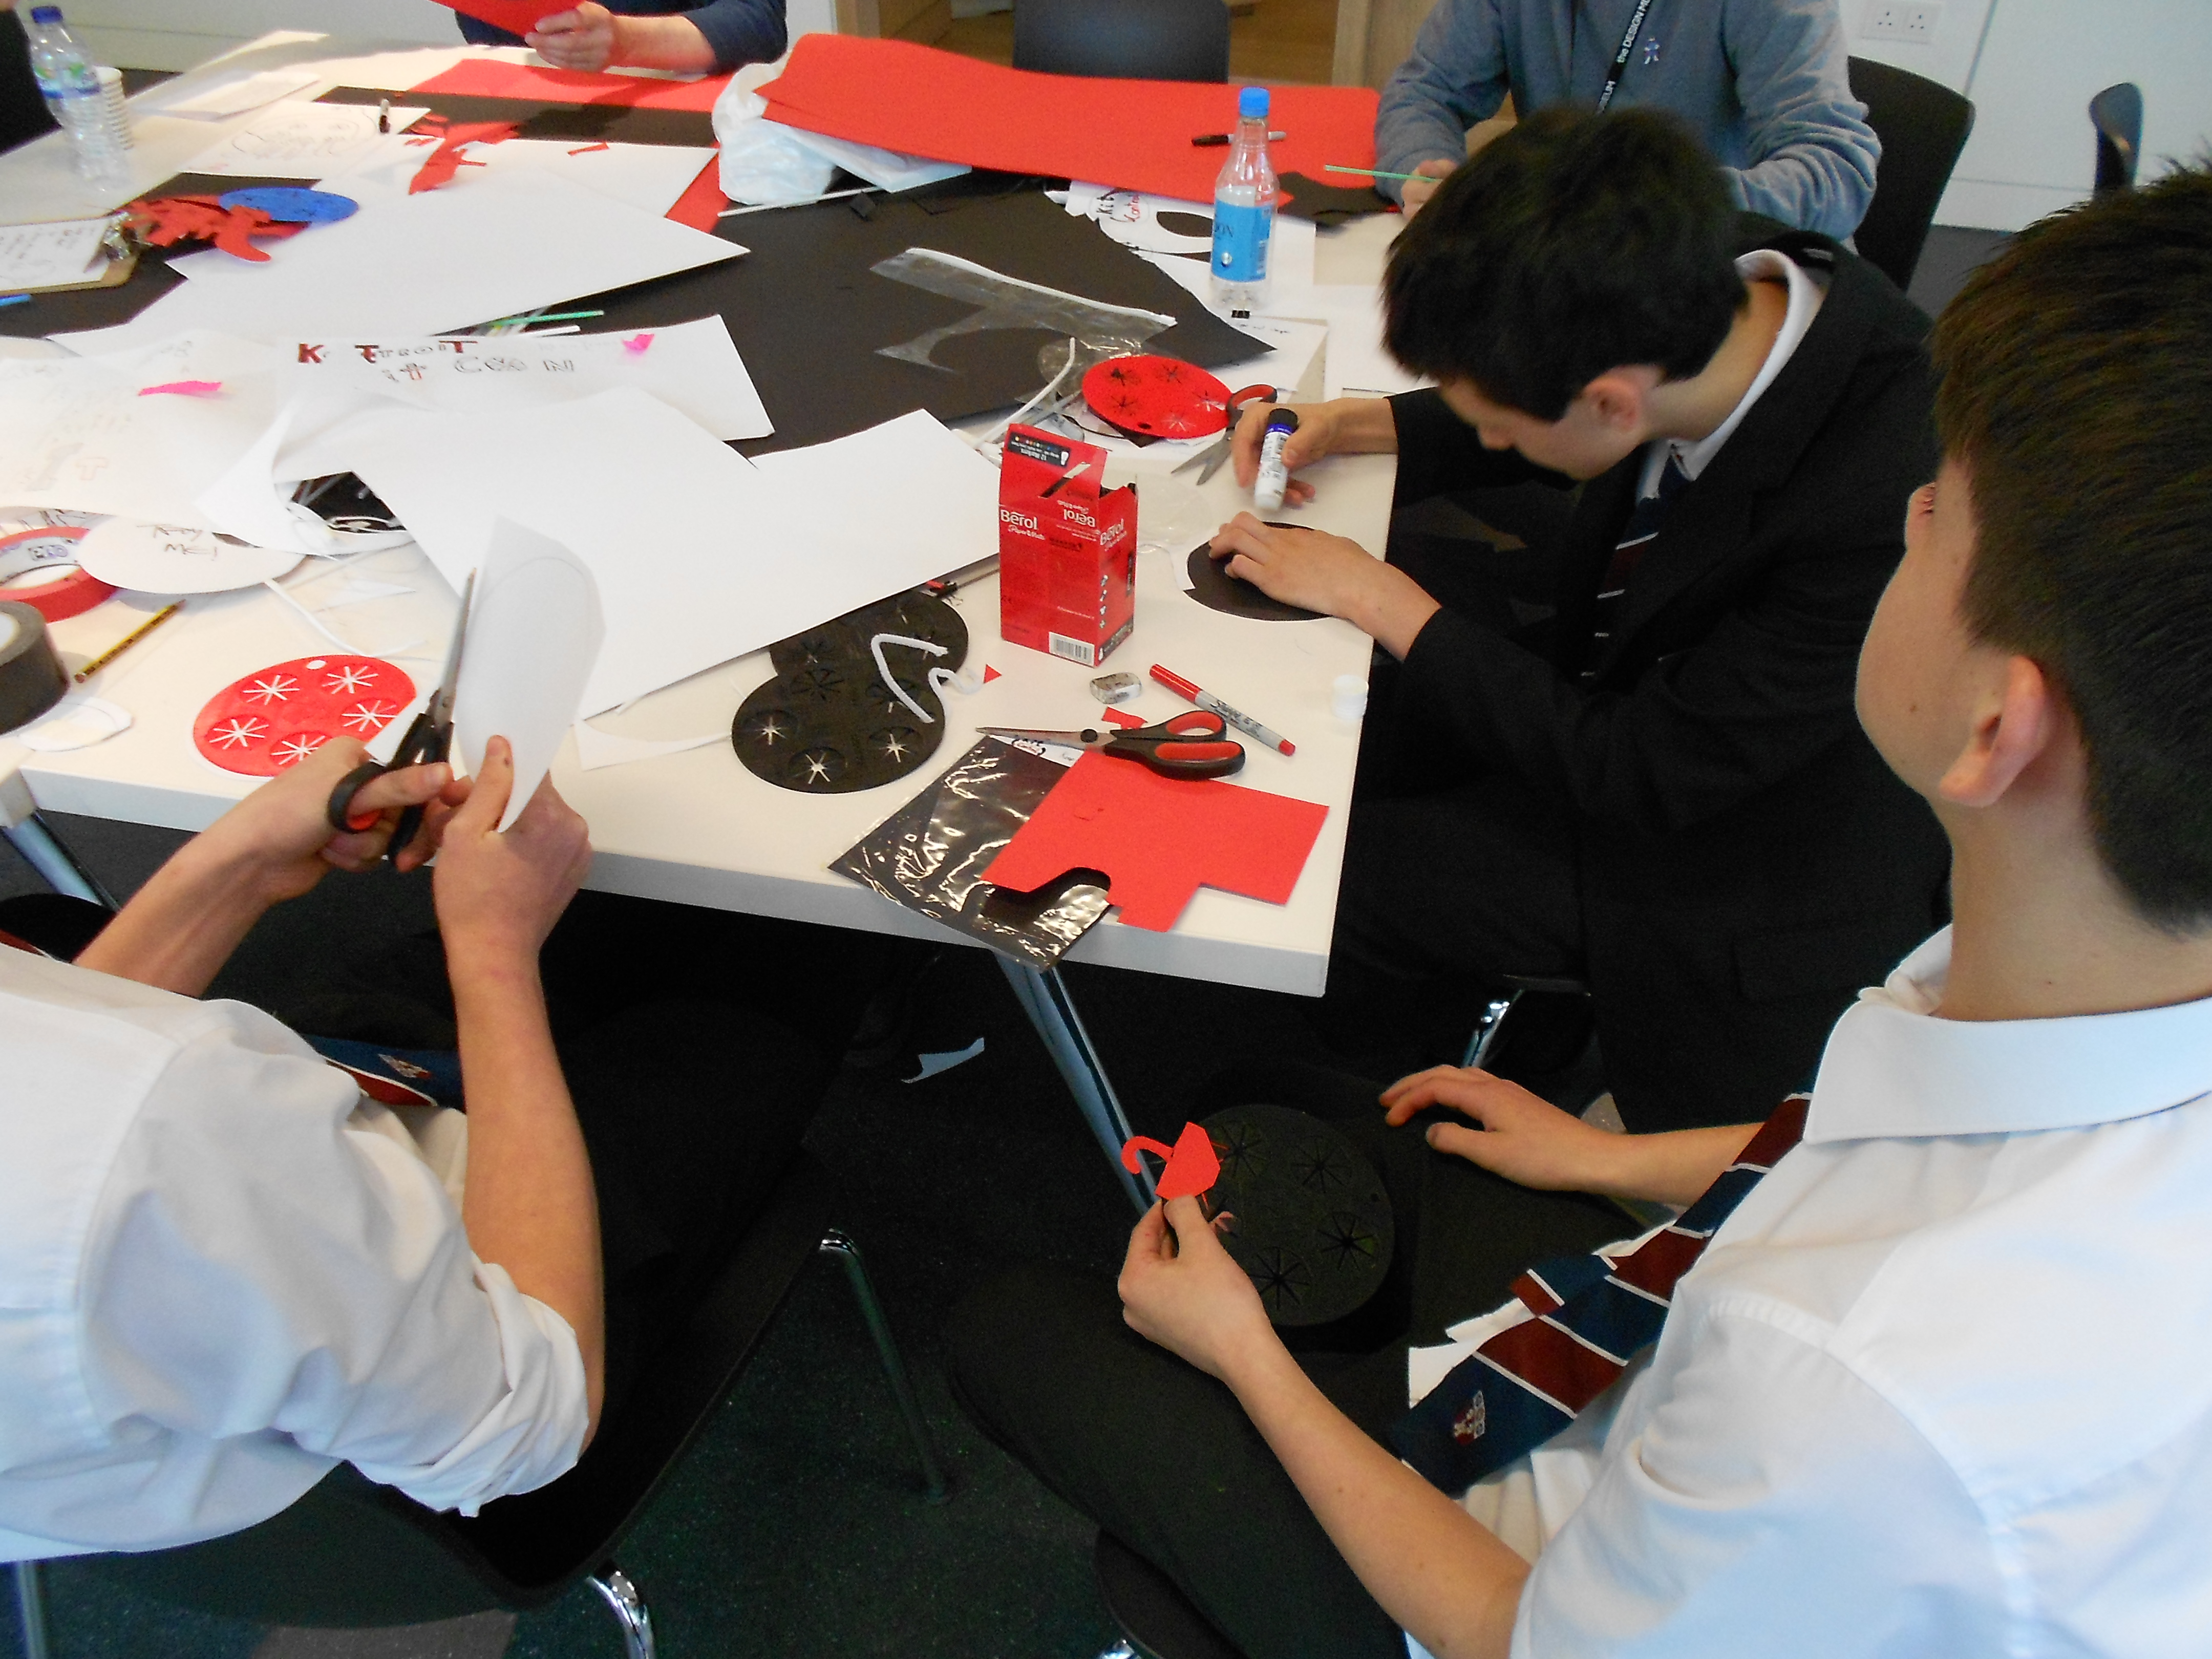
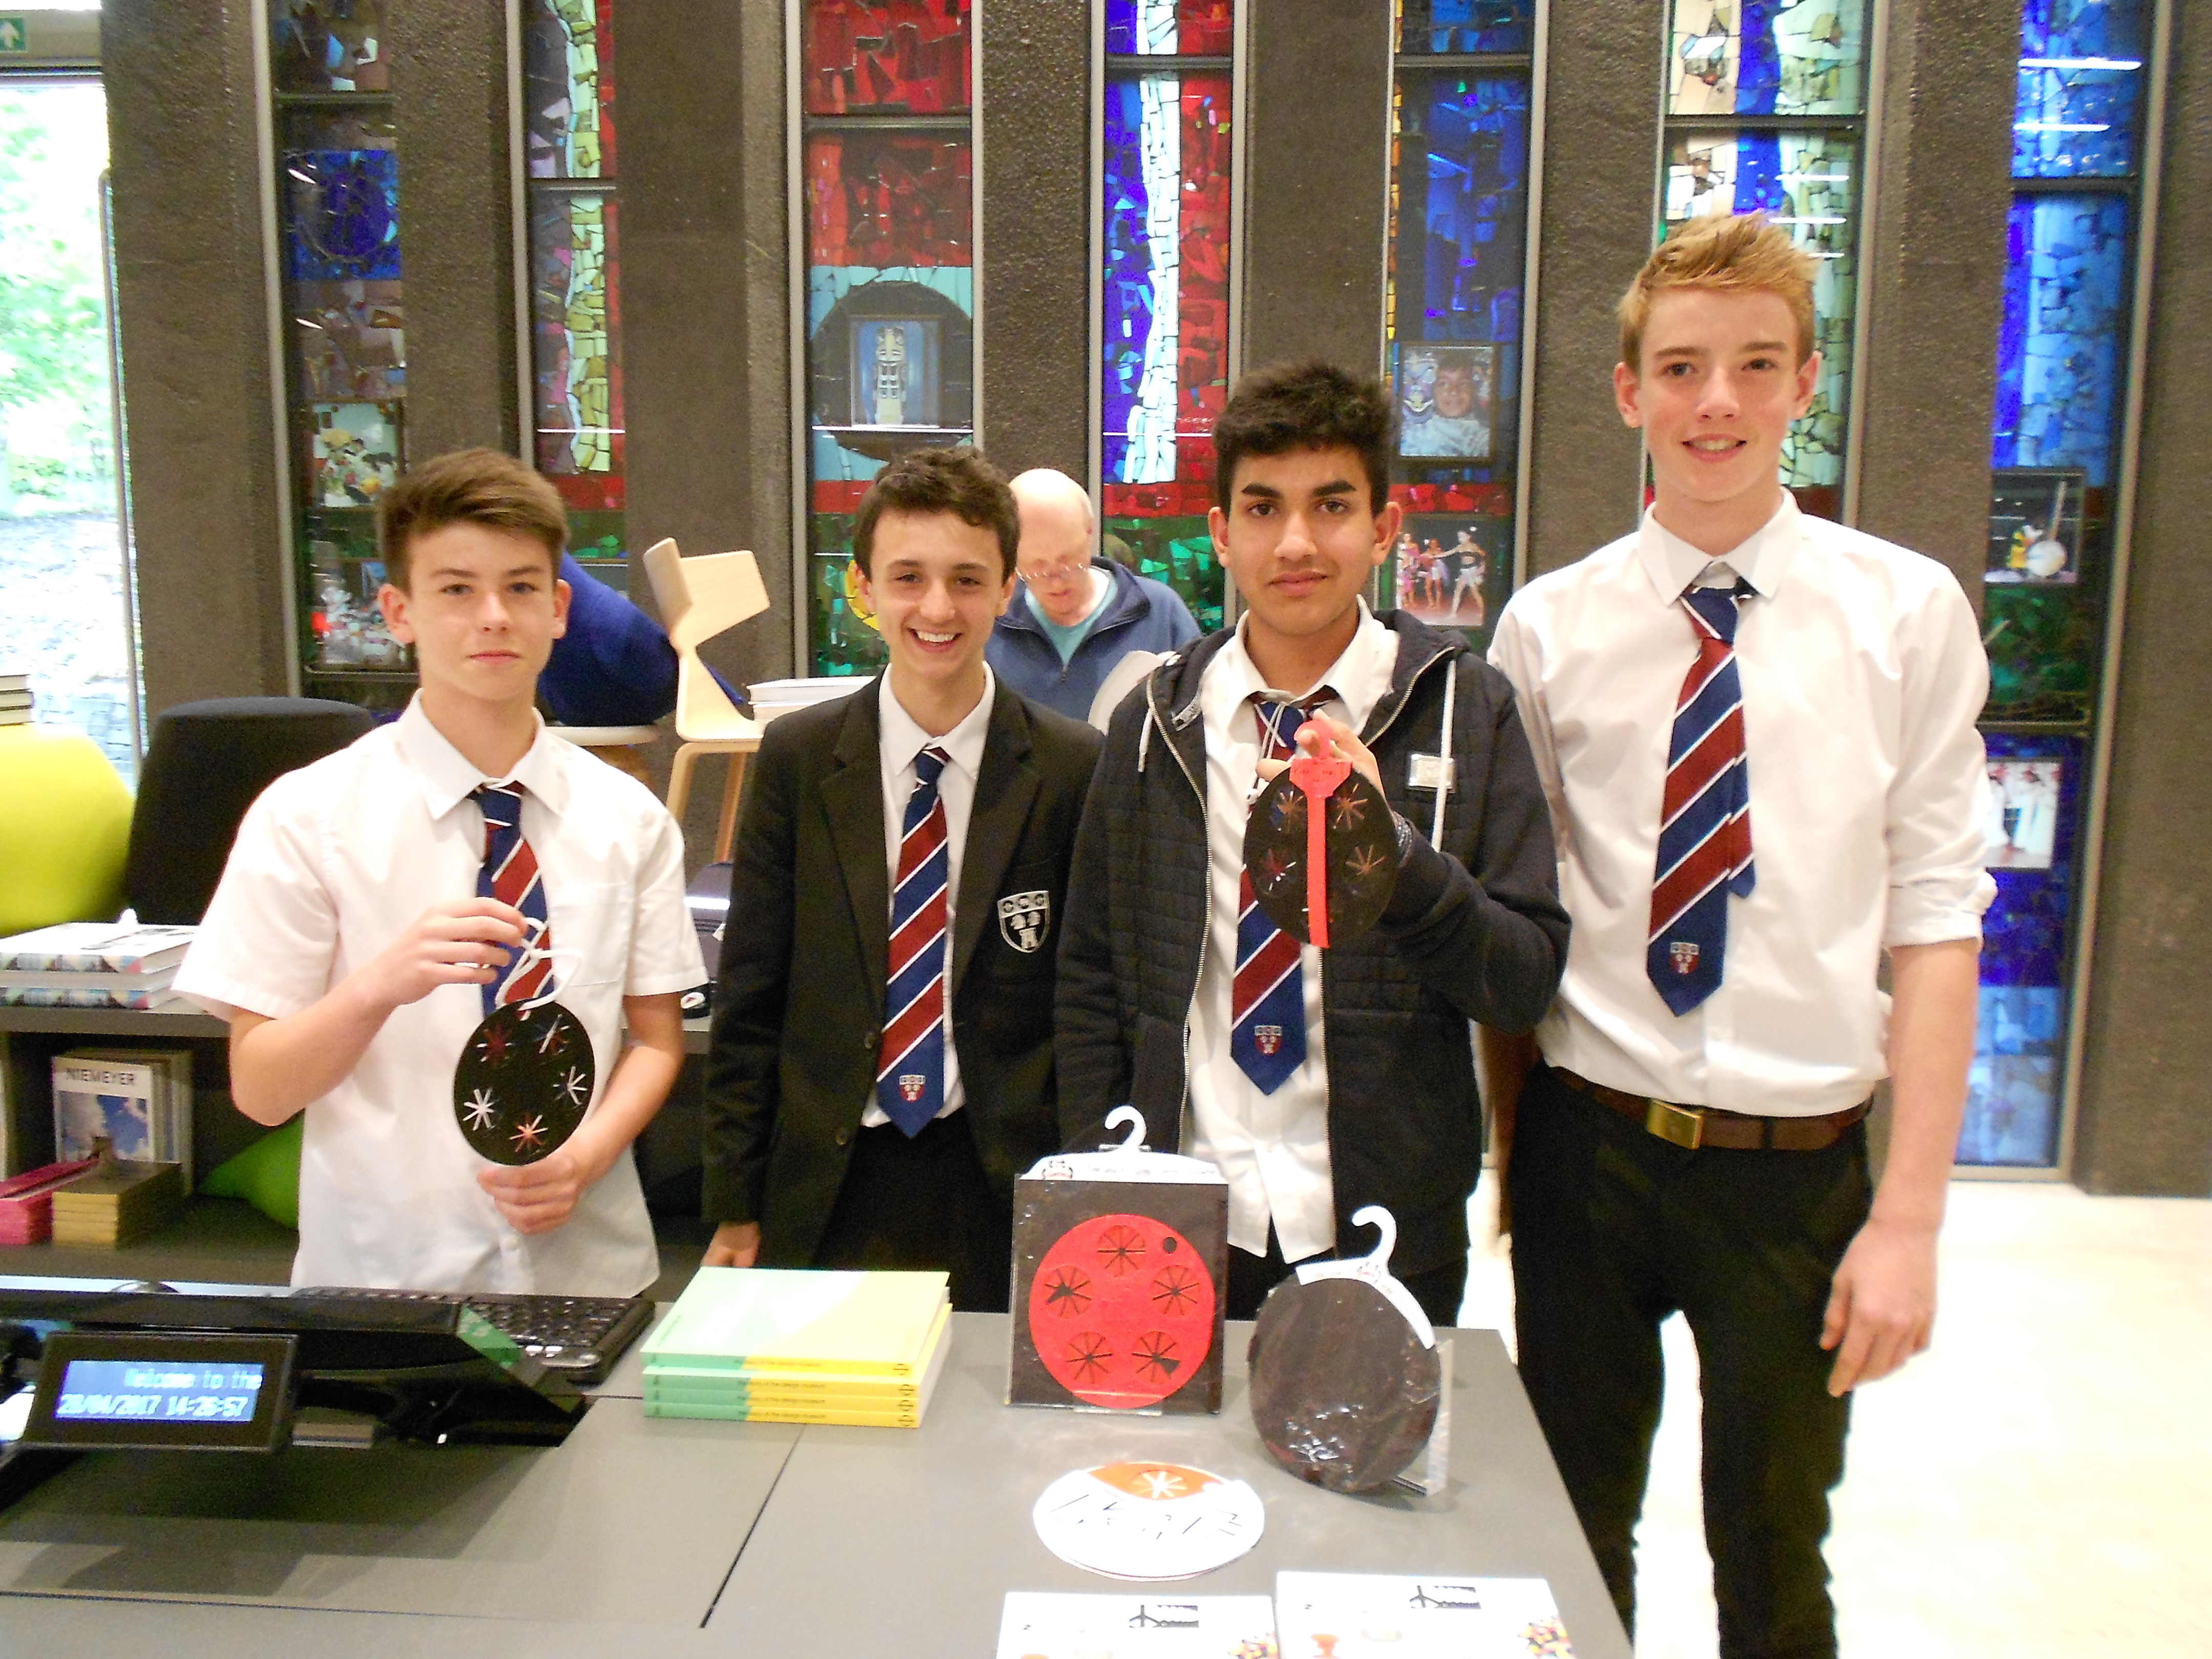
The team from Royal Grammar School, in Newcastle came up with a fantastic product ‘Kit Control’, a visual checklist tool enabling the user to physically and mentally check off items of sporting clothing as they pack their sports bag. We’ve all been there and forgotten that important piece of sports kit so I think the idea is really great!
I presented my research and previous sport related projects then worked with the students to develop ‘Kit Control’ branding, packaging and point of sale concepts. It was great to see all the team members (including their teachers!) get stuck in to designing logos and packaging ideas, presenting their work for critique as we went along. We eventually tested the ideas out in the Design Museum shop, gathering customer and staff feedback, and it’s fair to say the students were pretty chuffed with the responses.
Both myself and the studio do a lot of work around design education, as we love to teach and mentor to help others gain skills. Being able to work with the students was inspiring, as it always is when working with the museum’s education team. Being able to work quickly and develop ideas and concepts with young people energises my own work, and every time, the results surprise me – the students are really that good and represent a bright future for the design industry.
I’m already looking forward to working with more Design Ventura students and the Design Museum team this year.
Register to become a Design Ventura expert
See what Peta Miller, from Nash Design has to say about volunteering for Design Ventura.
-
Research and Initial Ideas begin at Mill Hill School
Alexandros Theodorou, Cassius Maxwell, Sam de Leval & Hugo Mutkins started their research and initial ideas stage yesterday evening. As a team they will be working after school on Thursdays and Saturday mornings! (school timetabled I’m afraid). Great research carried out already and some thought provoking initial ideas. Trying to keep it simple is key at the moment.
Will keep you all posted with progress.
Best wishes
Chris Mckay at Mill Hill School
-
Design inspiration and ‘ah-ha’ moments
Simple ideas work best. Think logically and work methodically. We all experience processes and products which can be improved; here’s a great example of considered design:
When we travel we connect with a product (our passport) this enables us to connect with people (visiting family, friends and business associates). Traditional entry and exit passport stamps are basic shapes, they are functional and simple, but Masahiko Sato’s design of the Japanese entry and exit stamps for Kenya Hara’s 2000 exhibition RE-DESIGN: Daily Products of the 21st Century, explores and re-thinks everyday processes and objects. This rethink puts a smile on the traveller’s face, creating an ‘ah-ha’ moment that is full of goodwill.

Traditional entry and exit stamps
‘10,000 tourists a day begin their first visit to Japan, this simple change could produce 10,000 positive ah-ha’s a day, or 10,000 friendly feelings, borne via this small taste of hospitality’
Kenya Hara, Designing Design Lars Muller Publishers, 2008

Masahiko Sato’s improved entry and exit Stamps
-
Collaging Your Ideas
A great method that will guide you though the design process and help you when collating your design sheets for competition entry is the creation of a collage, which by definition is a piece of art made by sticking various different materials such as photographs and pieces of paper or fabric on to a backing.
Purpose?
Collage is a visualisation technique that can help you to determine and express the colour palette of the product, materials, shapes; the context and even your target market as this new universe that you’re creating needs to relate to them.How to create a collage

- Decide what you want to communicate and brainstorm words that relate to your project. Using abstract concepts at the beginning will help you to broaden your imagination and give you more possibilities.
- Search images that relate to those ideas. Use magazines, newspapers, Google, and gather as much content as possible. Analogies from different disciplines are great sources of inspiration.
- Select the most relevant images and start playing around. Decide the orientation of the background; consider the size of the images, their separation/integration and structure the composition.
- Once the collage meets your expectations paste everything together or if you’ve been working with online images then use Illustrator or Photoshop, as they are great tools to modify the images and make them look exactly how you would like.
- The collage summarises the concept you’re working on. So how do you know if it´s right? Show it to your teachers, friends or even to your mum and ask them what they see… if they mention some of the concept you brainstormed, you’re on the right track. You could use some of these collaged visualisations of your ideas as part of your entry sheets if they really help communicate the feel of your product.


Collages help structuring, developing, analysing and presenting visual issues that are difficult to express in words so if the direction of the project hasn’t been defined or you’re struggling with the user/ colours/ context then doing one is a great way to develop your ideas or a great way to consolidate and express your ideas for your design sheets!
By Design Expert Andrea Amistadi
-
The Design Process – From Crisis to Creativity
How to navigate the design process from crisis to creativity, with real world design project experience from Design Industry Expert Andrea Amistadi.
Andrea explains more:
Being that this year’s Design Ventura competition relates to the theme of move I want to share a project, which my friend and I worked on while being design students. The assignment was to develop a contemporary dance costume whose shape had to change when being used.
Where do we start? Research!
We researched the concept of movement in different disciplines: art, dance, everyday objects and fashion, as we needed to understand how to translate that into a costume. Our first source of inspiration ended up being a Chinese lantern and how its shape and dimension change when you start playing with it.
Inspiration and ideas!
- Op-art and kinetic art: colours and shapes to create optical illusions.
- Fashion: we needed to know what’s already out there.
- Contemporary dance: we had to understand the body in movement in order to create a costume for it. As a designer, you think about needs.
- Materials: soft, light, flexible and stretchy to allow movement.
- Colours: bright, they needed to be seen.

Once we had enough information we created a prototype and tested it. Is it easy to wear? Is it too heavy? Does it actually change its shape? What isn’t working? We had a long process of testing, implementation, evaluation and redesign.
Crisis
Four days before our deadline, things weren’t going that well, we received terrible feedback when showing the prototype, it didn´t look good or interesting and it wasn´t working properly either. We were running out of time and freaking out. We started the project having a great idea, but by the end there was tension and we needed to find a quick solution if we wanted to make it work.How do you move on from crisis?
First we needed to identify the problem. We asked for feedback, we went back to our research. We tested some of the solutions and realised that by changing the materials we would gain more flexibility and reduce the weight. So now we needed to refine the design which meant building it from scratch… Ahhhhh!!!!We spent the next three days sewing, making the weirdest dance moves, taking pictures, eating loads of crisps, not getting much sleep and also having fun.
What we learnt from this experience?
The design process is not a linear path; it’s all about keeping an open mind, finding ways to improve, being critical and researching. You might need to go back to the beginning sometimes to find a solution but that’s the way it works. Be open to opinions, curiosity and experiment. Talk to your team members, teachers and share your ideas with people that are not involved in the project, so you´ll get a fresh perspective. Ideas and solutions come from the most unexpected places, so keep your eyes open.
So what happened in the end with our contemporary dance costume? Well… it ended up being published in a fashion and arts magazine and also was featured as part of an exhibition showcasing new products and trends of young designers. We were very proud in the end but it is the memory of that very long weekend when everything ‘clicked’ together, working as part of a team and having fun what we still remember the most.
-
Cheap Materials for Clever Design
When thinking about good design, sometimes the most simple of materials can lead to innovative, cheap, practical or beautiful solutions.
Paper is a fantastically versatile material; although it seems everyday, designers have elevated the material by using it in new ways. Even just considering different kinds of paper chair, as in this blog post, you can see the myriad different ways a simple material can be manipulated through clever design practice.
This environmentally friendly chair by Peter Plantan and Nusa Zupanc uses a sandwiching technique, gluing together thousands of pieces of paper to create a dense structurally stable material almost like plywood. through layering and gluing, flimsy newspaper becomes strong enough to sit on. Check out their design blog to find out more about the design and construction process.

This pop-up chair “Watching You”, designed by Sekita Design Studio, uses thin sheets organised in a waffle form to give it strength. If you push it from the side it will collapse easily and fold away, but when you exert downwards pressure on it by sitting down it should stay standing.

Christian Feibig’s Polygonal Paper Chair is based on computer rendering of a Chesterfield chair using only polygonal faces. This chair looks beautiful, but do you think it would break if you sat on it?


This chair designed by Anton Green uses folded paper in triangle shapes to create a really strong and “sittable” chair just from paper. This is an example of how great design can create a beautiful looking and functional product from a simple and inexpensive material.
-
Designer Profile: Edward Barber & Jay Osgerby
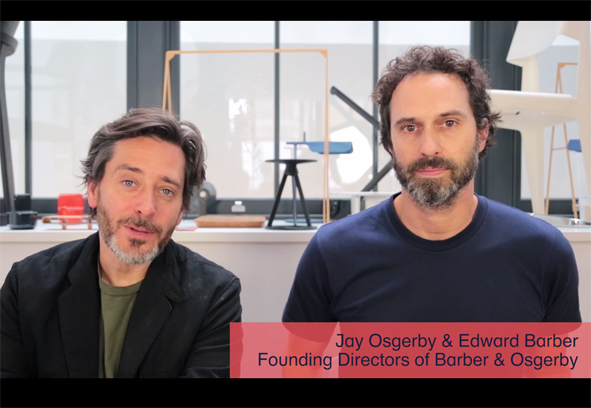
For our first Designer Profile of 2015 we are looking at our great brief setters for this year Edward Barber & Jay Osgerby.
The Barber Osgerby partnership was formed while the pair were studying at university and they have been collaborating ever since. Their work shows how simplicity in design and materials can make for a winning product.
Their award-winning design for the Olympic Torch had to be both beautiful and practical. Not only is it the potent symbol of the Olympic Games, but it also had to be able to stay alight through all kinds of weather conditions.
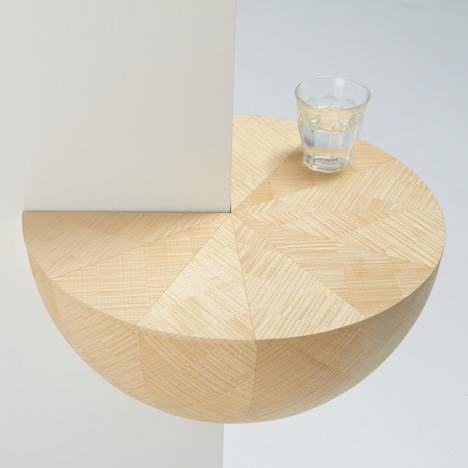
Barber & Osgerby curated a Design Museum exhibition call ‘In the Making’ which halted the manufacture of familiar objects to make you stop and think about how they are made, what processed and materials go into making an object and also what waste is created.
You can also find Barber & Osgerby products in the Design Museum Shop, maybe your Design Ventura idea will on sale next to them.
-
Product of the Week: Air Vase by Torafu
The Japanese architect and design firm, Torafu, have designed a product at an affordable price yet the unique features it owns has without a doubt gained more value than its selling price of only £11.
The Air Vase is an easily malleable household item solely made of paper and is designed to be stretched and shaped into a vase, plate or bowl. Furthermore, its thin and flexible material allows it to be folded when not in use. To view the product, select the following link.
Moreover, Torafu have been well known for producing both exciting and ingenious products through simple design and manufacturing. These designs include a doll’s house within a wooden chair and the Catchbowl.

 However, despite its practicality; Torafu have also designed it to be a different colour on each side of the vase when viewed from different angles. Torafu have undoubtedly proven the beauty that can be presented through the simple and practical household items used on day-to-day bases.
 -
Ask the Expert – developing design and business ideas
Emilie: Expert Panel, do you have any final tips to share with teachers and students about developing designs and business ideas?
Emilie: Or any final questions from Catherine from schools?
Harry T: Only try help your students understand how important enthusiasm is in the pitch. If you think you’re idea is awesome, likelihood is others will.
Catherine RS: Another question from Fitzwimarc School, for Christoph and Steven. What are the special qualities of past winning products?
Steven Preston: All of the previous winners took something that was already familiar and gave it a unique twist; it was that creative re-imagining that added value and ultimately made their designs successful. I should also point out that each DV winner so far has been commercially successful in the shop
Emilie: Yes there are lots of resources to help you on the website www.ventura.designmuseum.org
Chris Garcin: I think the discussion has raised some of the tips I was going to pass on – keep it simple, have the brief, or theme at the centre of an idea, think who goes to the Design Museum shop and what they would buy, explore ideas by sketching, get into rough models to try out ideas, have conviction in your idea and have fun!
Komal: For those schools unable to visit the museum, we have lots of helpful blog posts from our Industry Experts.
Catherine RS: That’s a great observation Steven, which I’m sure will be very useful to students. Successful ideas need to be unique, but also have something familiar that attracts customers.
Christoph Woermann: There is no easy answer for special qualities that make a product pass straight over the finishing line. It is always a mixture of the creativity of the idea, the simplicity of its realisation, the commercial viability, a fun factor in having it, its uniqueness etc.. Never forget though that the presentation in the pitch is a unique chance to make to stand out. In the past we have seen social media campaigns, theatre performances, free prototypes and above all great fun with the pitching teams. This is an important part in the whole process, too. Hope that helps as a pointer.
Emilie: Great point Christoph thanks, believe in your idea and go for it
Catherine RS: Thanks Christoph – that’s enormously helpful. The competition is getting harder and harder, so ALL of the top ten ideas are potential winners, and it’s the personal conviction of the students alongside the idea that helps to push it through!
Catherine RS: That’s it from me! My closing tip is to refer to the original brief and the judging criteria as you refine your idea and get ready to pitch in school.
Emilie: What a fantastic web chat! Thank you all for joining us this afternoon, and sharing questions and expert advice.
Emilie: Sadly we have run out of time
Chris Garcin: Good luck students!
Paul Jenkins: Thanks everyone, I hope I’ve been of some help! Good luck students!
Harry T: Thanks for coming everybody. Best of luck with the rest of the competition. Maybe meet some of you at the celebration in the Spring.
Christoph Woermann: To all the teams that participate in this year’s challenge: To take part already makes you a winner because you will learn a great deal about teamwork, meeting deadlines, operating a small business and realising that everything you really want will also happen. Good luck, you can all make it to the final round and remember, the design museum and the designers get always inspiration from you all.
Emilie: our final chat will take place on Thursday 6 November 2014 at 3.30pm, on Chatzy, where we will share advice on: FINALISING IDEAS, PRESENTING AND SUBMITTING ENTRIES
Emilie: Until then best of luck to all the students and teachers taking part, and thank you again to our Industry Experts for joining us and don’t forget submission date is 12 November 2014! Good luck again!
-
Drawing helps you think
Every designer draws. Getting your ideas down on paper helps you to make sense of your thoughts and create original work. Below are a few tips to help you with your sketches:
KEEP IT SIMPLE!! Everyone wants to make their work look good but producing a masterpiece at the design stage just wastes time. A quick line drawing should be enough for you to get an idea of what your product does…some of the best designs have literally started on the back of a napkin!

(Milton Glaser’s sketch and final design for the “”I ‘Heart’ New York”” identity)
REFINEMENT . The best designs need a lot of refinement- design classic the Dyson Vacuum cleaner was redesigned 5127 times! So draw, draw, draw and draw again until you’re happy with the design of your product. A pencil and paper are a lot cheaper than a prototype!

(James Dyson’s original Dyson vacuum cleaner)
COLLECT IDEAS AND SHARE. Don’t worry if you don’t feel confident drawing your ideas. Fashion designer Paul Smith has a great ‘eye’ for fashion but lacks the skill to sketch out his designs. Instead he collects words and patterns to create a ‘mood board’ which shows his designers how he would like his clothes to feel, they then sketch up ideas for him to approve. Partner up with a friend in your group who can help visualise your thoughts.

(Paul Smith’s notes and designers sketches)
GOOD DRAWING/BAD DRAWING: Drawing is a safe way to make big mistakes and learn from them. No one is going to die over a bad drawing- so relax and let your mind wander to the craziest of places. And remember, the rubber is there for a reason…

(Russian designer Nicolai Ladovskii’s design proposal for a block of flats in Moscow)
-
Prototyping – Making Ideas
Now your team has an idea or even more than one. Time to test your ideas. Get making; prototyping; take your idea from a sketch on a page to something you can hold in your hands. Then you have something to show people – use their comments to help you make your idea stronger. Use anything: paper; cardboard; stick together other objects. Prototyping can be scary at first, but it gets easier the more you do it. And once you do, you will want to prototype every time you design.
Below are some of great prototypes. Notice none of them are complicated or anything like the finished product.


Bowtiful bow tie – http://bowtifulties.com/2013/03/bowtiful-packaging/


Supersoaker – https://en.wikipedia.org/wiki/Super_Soaker_50


Dyson vacuum cleaner – http://www.core77.com/gallery/vienna-design-week-2010/23.asp and http://www.dezeen.com/2013/07/26/dyson-launch-smallest-vacuum-cleaner/
-
What makes a good idea great?
Enterprising ideas: Simple ideas with big appeal – what makes a good idea great?
Explaining what makes a good idea great is tricky, first it’s understanding what makes a an idea ‘great’ in the first place.
Personally, I think it’s an idea which makes you smile, it captures your full attention, you immediately ‘get it’, you value it’s cleverness, usefulness or sheer beauty.
You don’t have to be an experienced designer to hit upon a great idea, the process gets easier with experience, years of brain training! But with applied dedication, curiosity, perseverance and imagination anyone can come up with that winning idea. It’s all about having an open, enquiring mind. And, the time to properly consider and develop your thinking into strong concepts.
Remember, everything’s been done before, it’s about learning from what’s been done and making things even better. A completely innovative, fresh new idea will always stand out, that’s what you should strive for.
To be really ‘great’ the idea really has to answer the brief in the most succinct way, the simpler the better.
-
Why Prototype?
You have begun to formulate and develop great ideas for unconventional, innovative and eye catching products. You’ve researched your target audience and their wants and needs, you’ve researched the Design Museum shop and your direct competitors. But how do you really make sure your design idea will work when it is produced?
In order to ensure product designs will be successful, manufacturing needs to be considered right from the first step of the design process. This also means thinking about:
Materials – what will the product be made of and where do I source these materials?
Production – how is it made?
Functionality – will it work in the way I intend it to?
Aesthetics – will it look the way I want it to?
Budget – will all of my requirements fit within the Design Ventura product budget?A good way to begin exploring the manufacture of your product is to begin prototyping.

Making mock-up examples of your products early on in your design process will give you an immediate insight into whether your product will work, or if you need to simplify your design, change your material or use a different manufacturing process.

Sometimes it is easy to get carried away with a great idea, but when it comes to manufacturing, it doesn’t work. Prototyping will give you the chance to look at manufacturing in the early stages of design. If you can identify potential production problems in the prototyping stage, you will have more opportunity to develop your design and solve these issues, ensuring your Design Ventura product is the best it can be!
Read more about another designer who designs by making here: http://www.designsojourn.com/rethinking-the-hairdryer/
This blog has been illustrated with some examples of prototypes made by Beal High School students during a Design Surgery workshop at the Design Museum with Museum Educator Lea Jagendorf, Design Industry Expert Wyn Griffiths and Business Industry Expert Nada Milanovic.

